

These cookies enable core functionality such as security, verification of identity and network management. These cookies can’t be disabled.
Our school transport solution ensures safe and efficient transportation for students. With a fleet of well-maintained vehicles, trained drivers, and real-time tracking, we prioritize student safety.


The Problem definition for the system is to develop software for “School Bus Routing Management System” for Schools, based on feature - GIS (Geographic Information System) Technique, in which School buses can be tracked on the way and software also maintains database of Staff and students. Guardian can login to software using student’s id and password.
The existing fleet of buses and mini buses are currently managed manually. To improve the existing fleet management system as well as decrease the maintenance costs, the software is build supported by a GIS system.
1. Integration: Adaptability enhances performance across various platforms
2. Multi-User Platform: Collaborate effortlessly with a multi-user platform
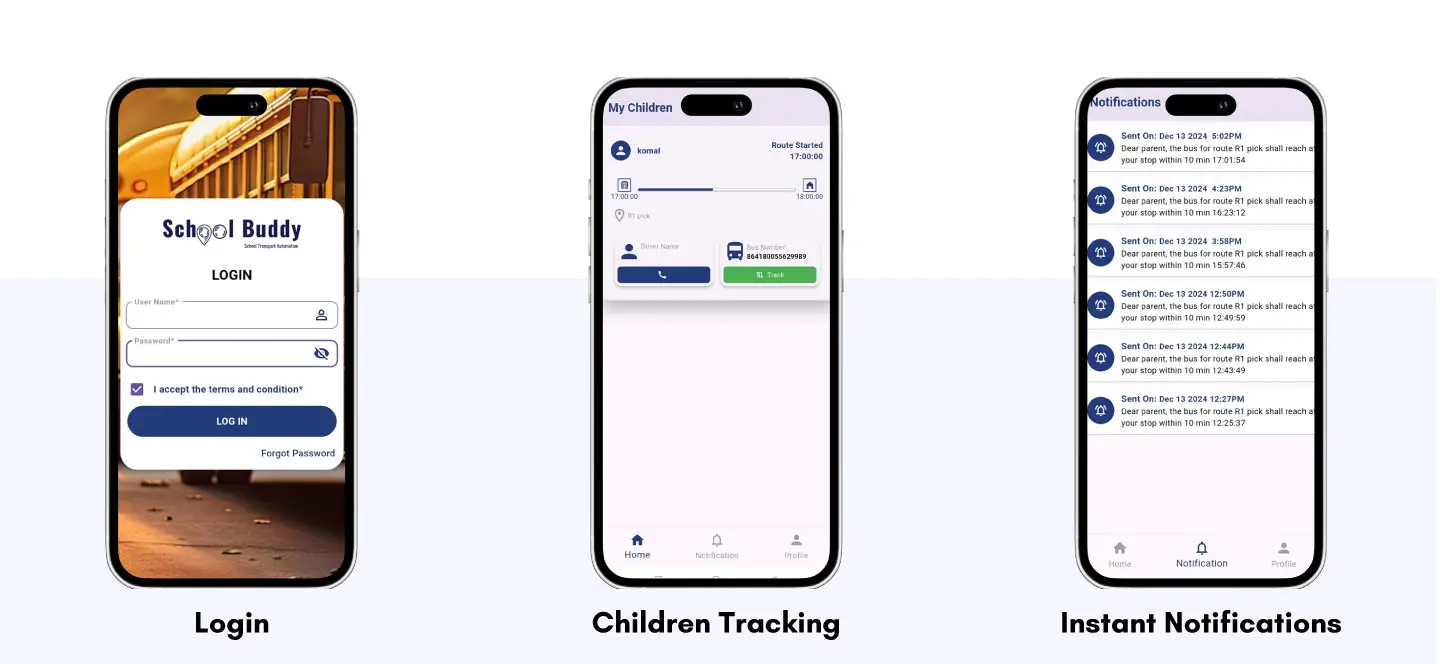
3. Push Notifications: Alerts for arrival times, delays, or unexpected route changes
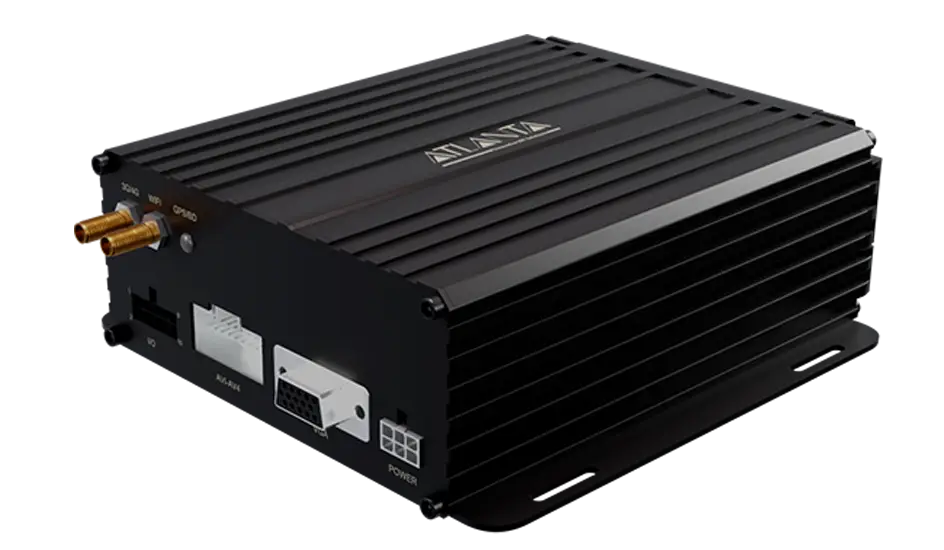
4. Driver Monitoring: Track driver behavior, including speed, stops, and driving patterns.
5. Scalability: Expands seamlessly to accommodate higher demands.
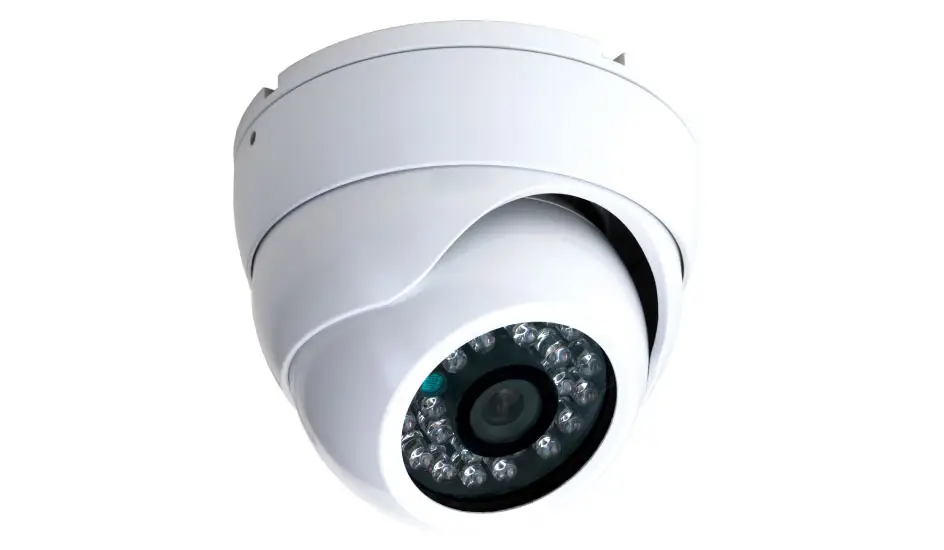
6. Student Safety: Ensuring student safety with live video feeds.

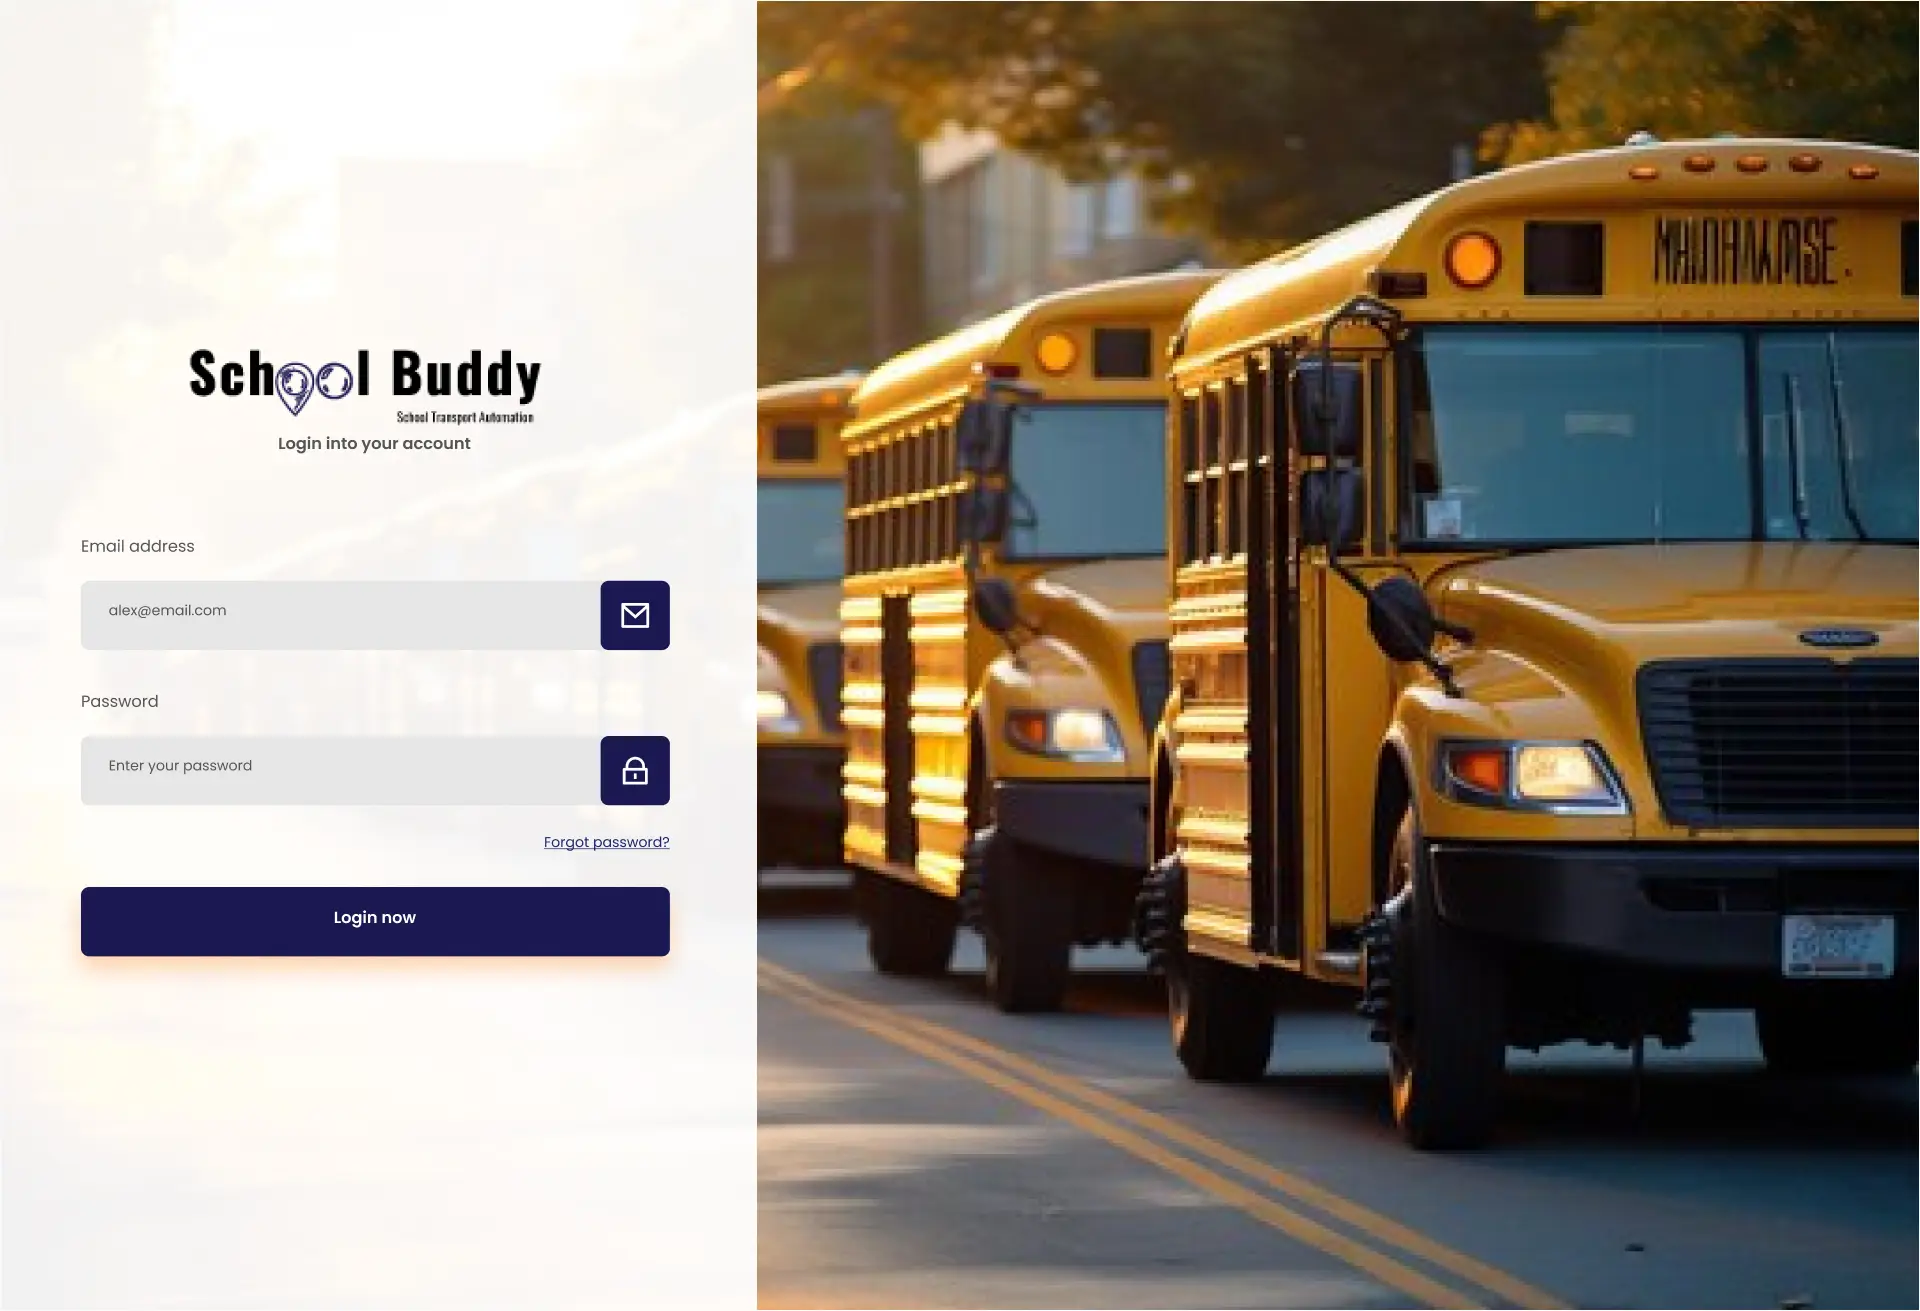
1. The login page has columns for Parent and admin you need to select the admin.
2. Username and password that will be generated by our support panel for login to the account.
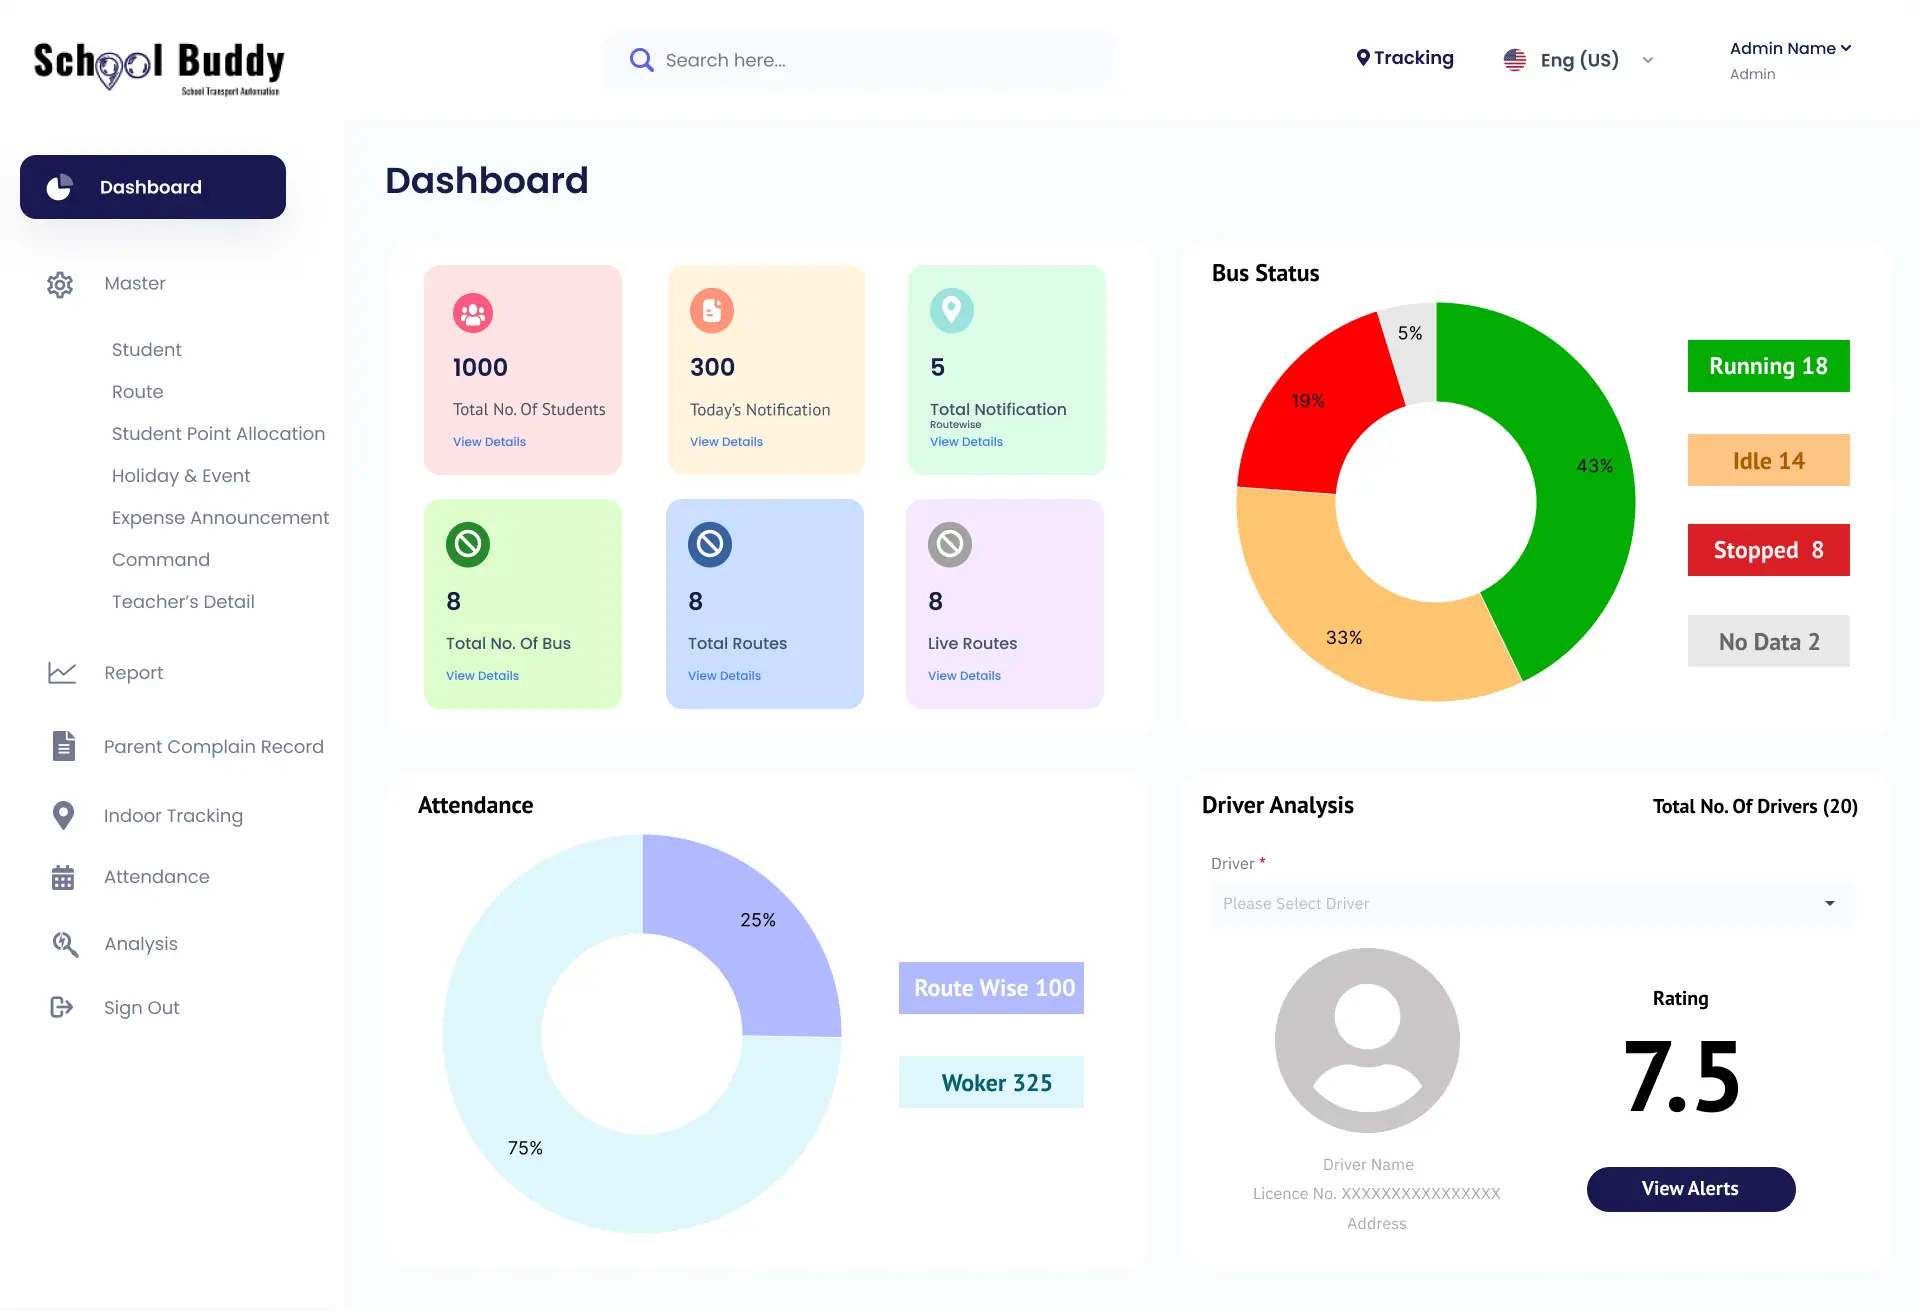
When the user will login to the account it will take to the dashboard page that has various parameters listed over it that will gives the analysis of the total students using the platform, total numbers of bus routes, total number of inactive routes, live routes if any.
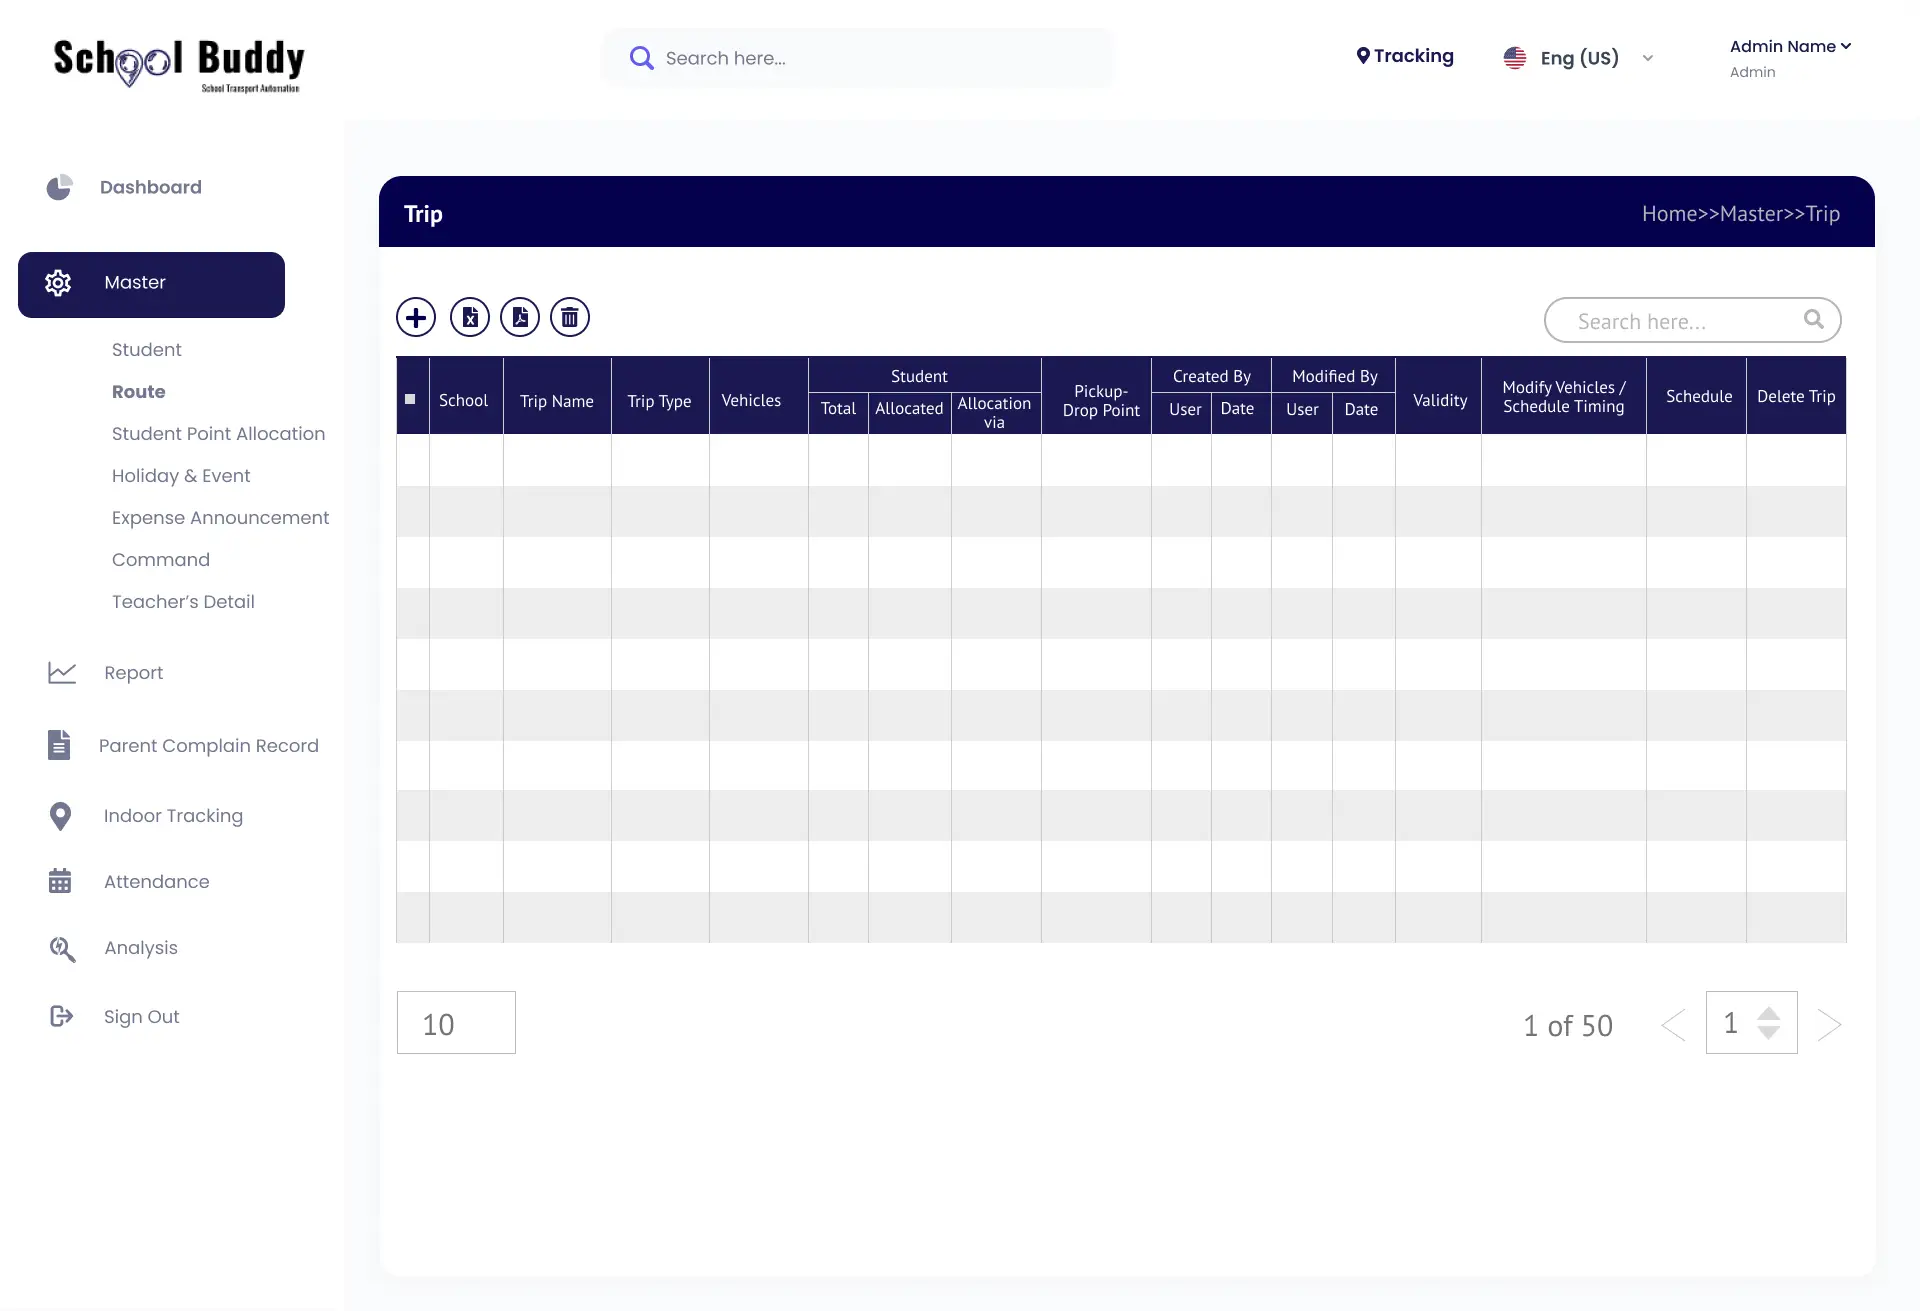
In this section user can creates routes for his buses by clicking onto the routes plan and once the routes is formed it will reflect here.
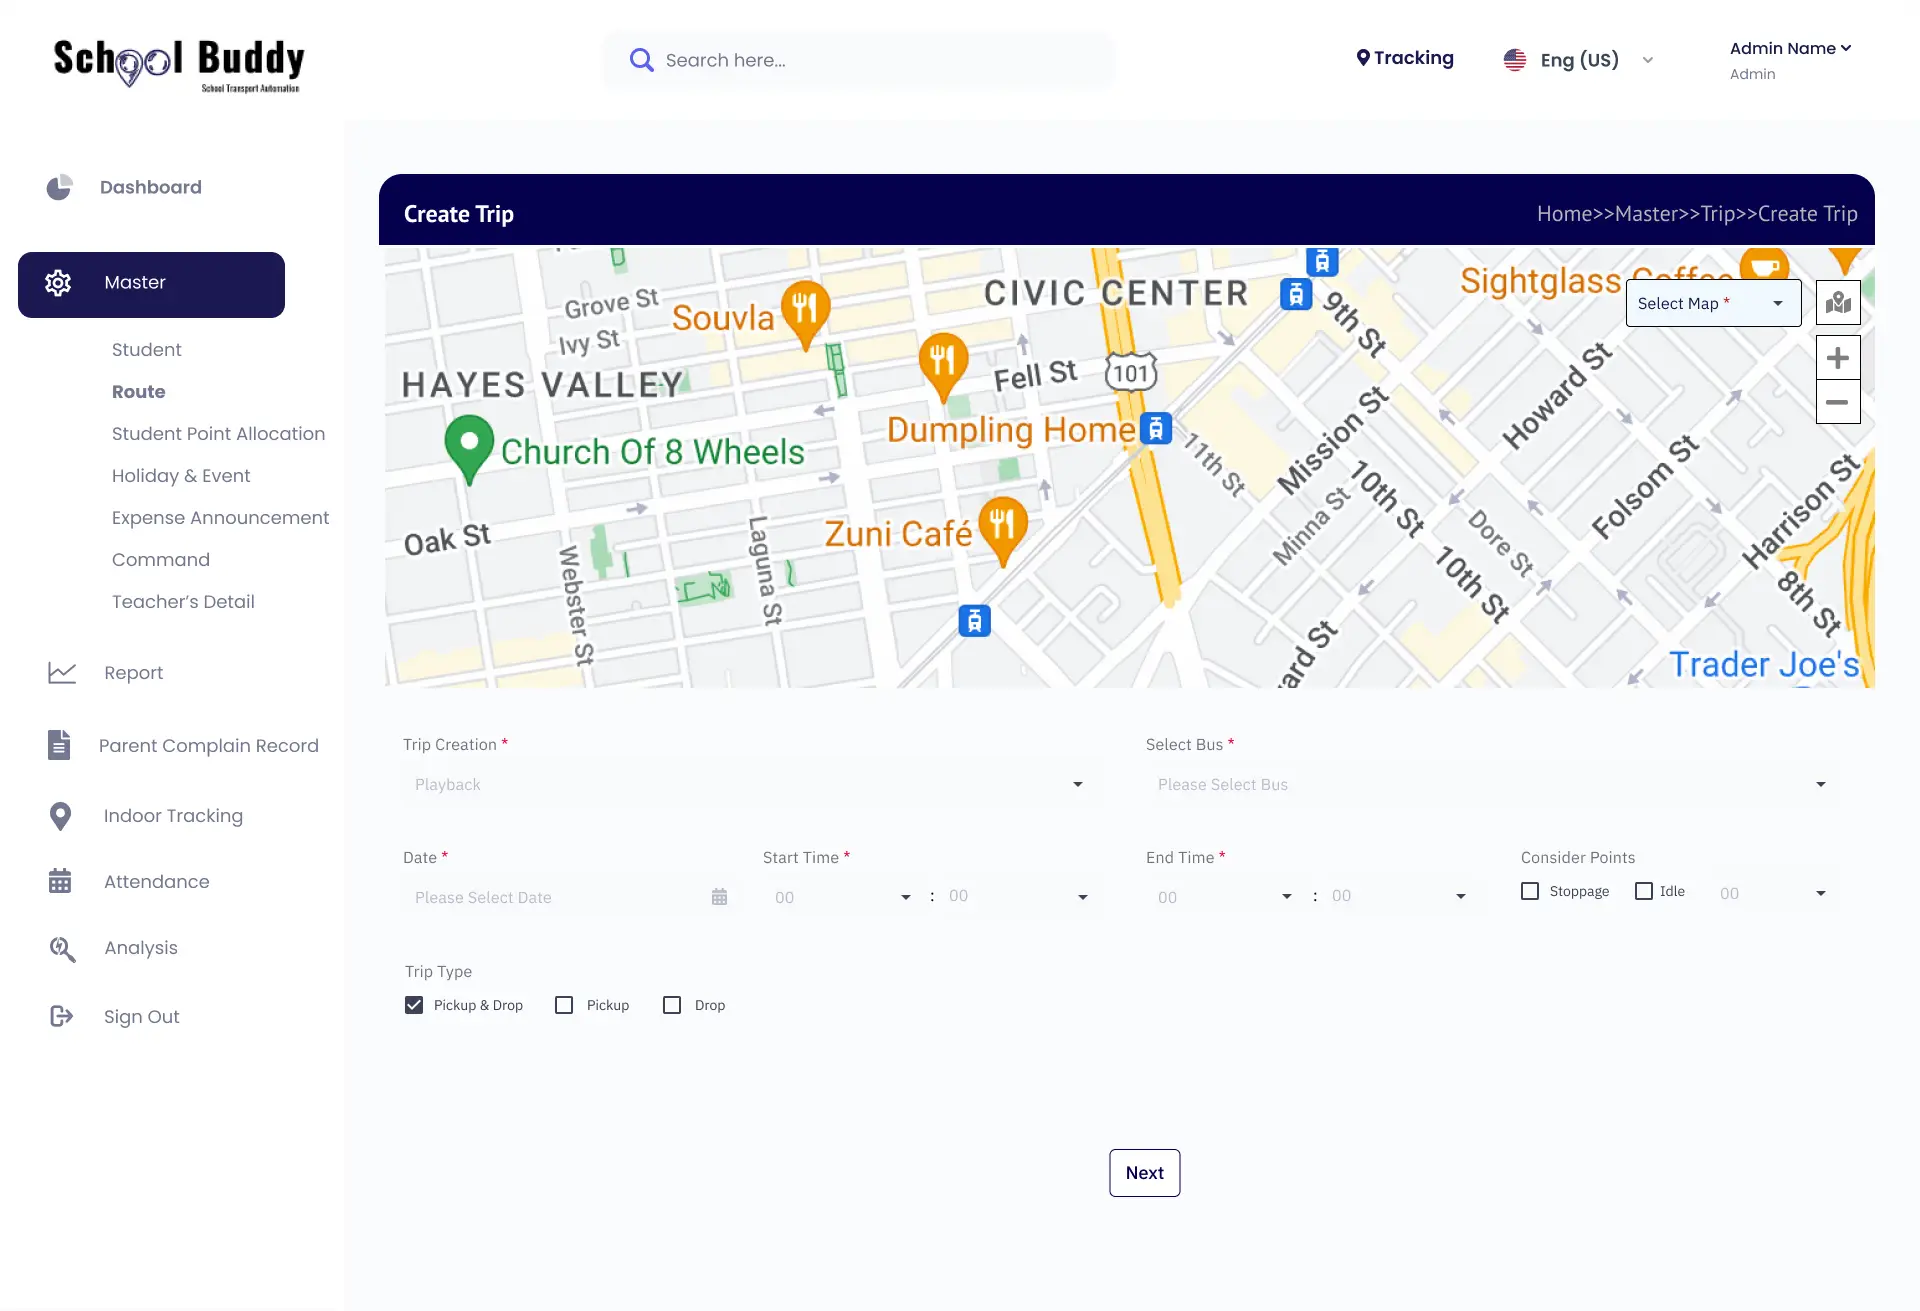
Here’s how to create the route plan where user have to fill the details as Route name, Start and Stop Time and also the bus number. *The Route names Should be as Pick and Drop. Example: Route-10 Pick & Route 10 Drop.
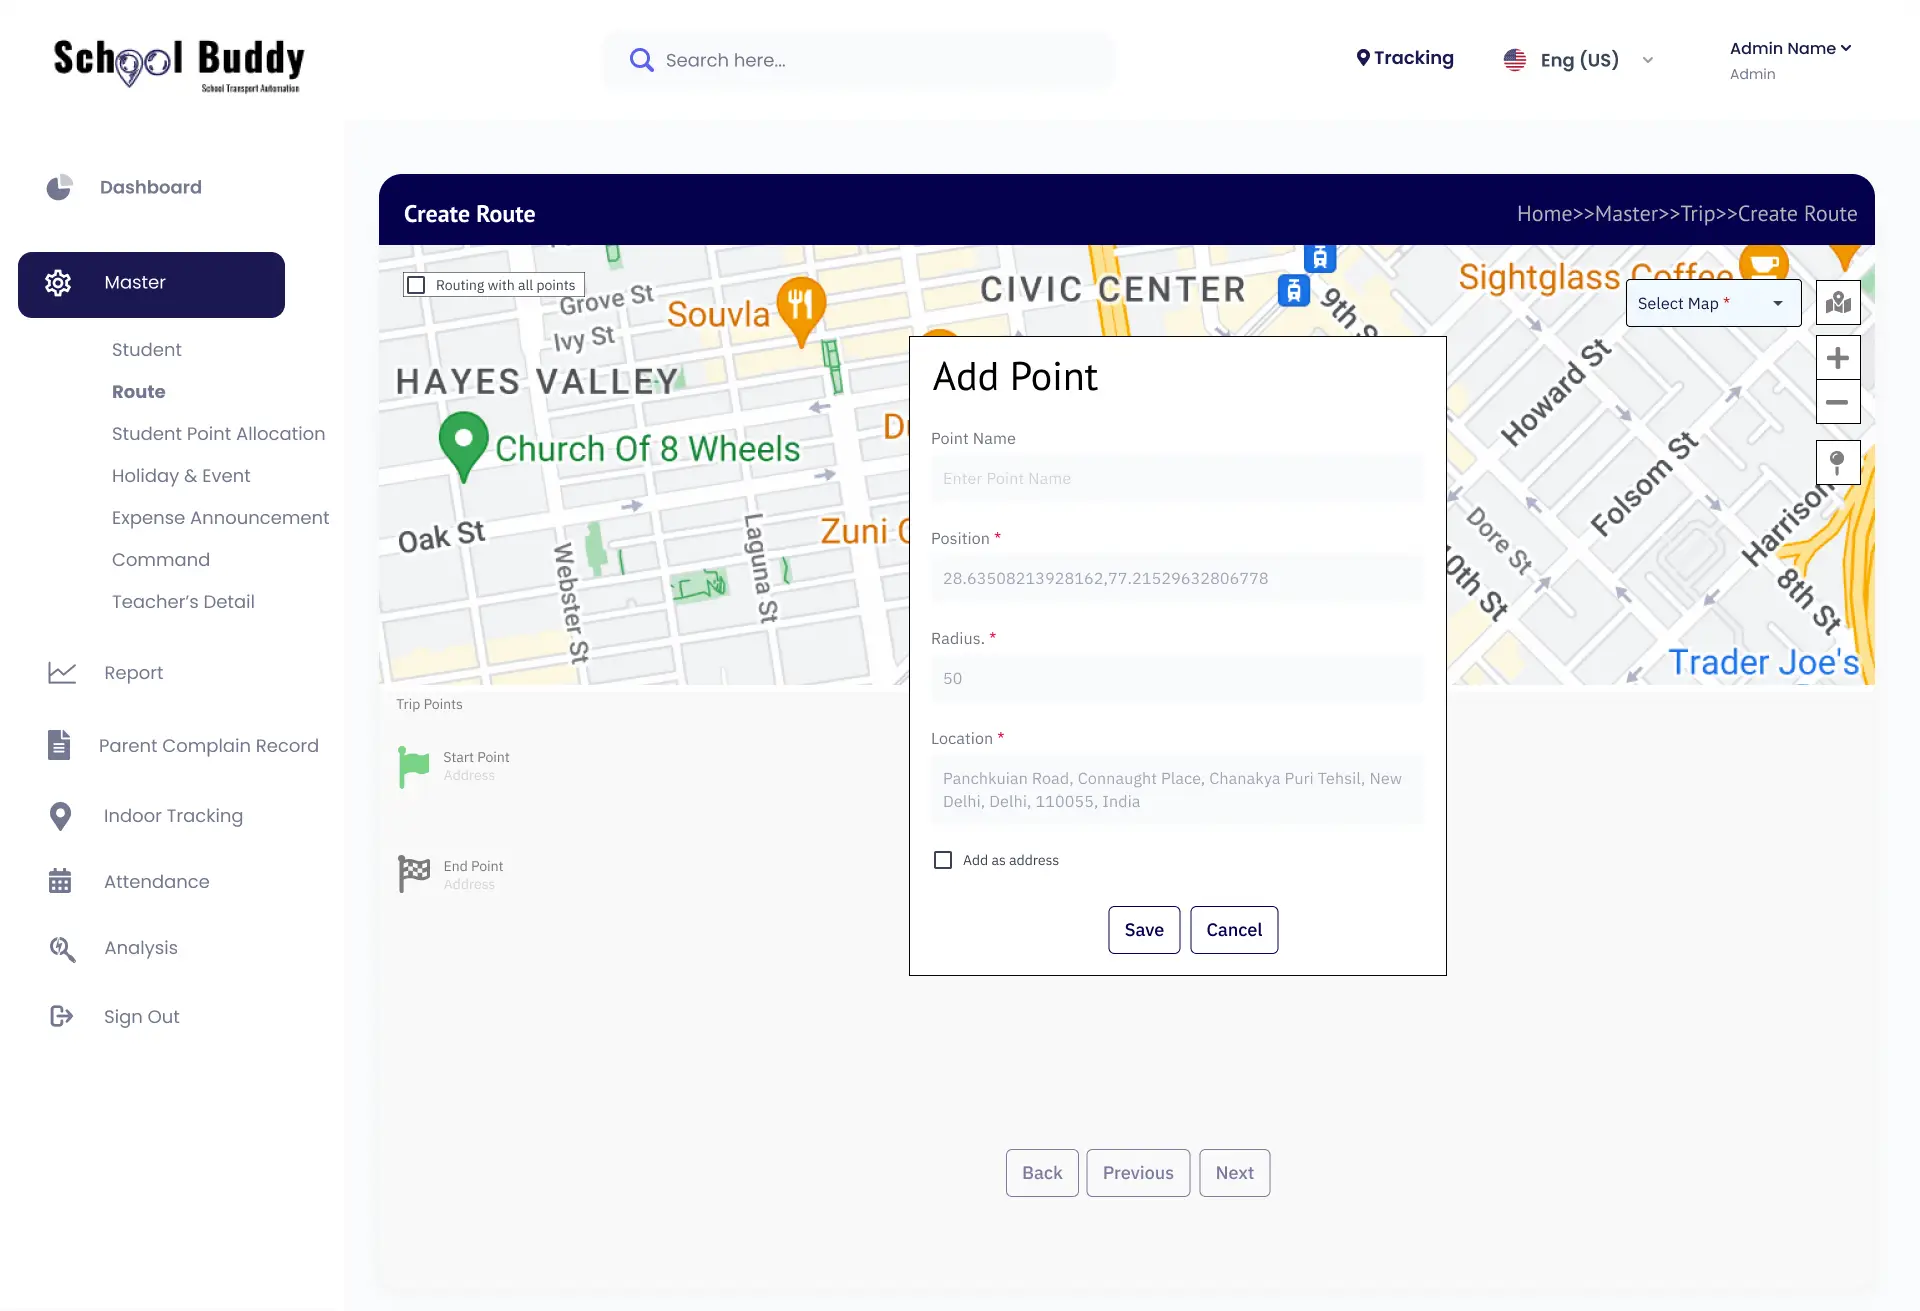
After the route plan user have to map the route. Route is automatically generated with the help of Abctraq.com as it picks up the playback of the vehicle moved. So user can filter the route on the basis of time and can save the route. Tab: Bus Route.
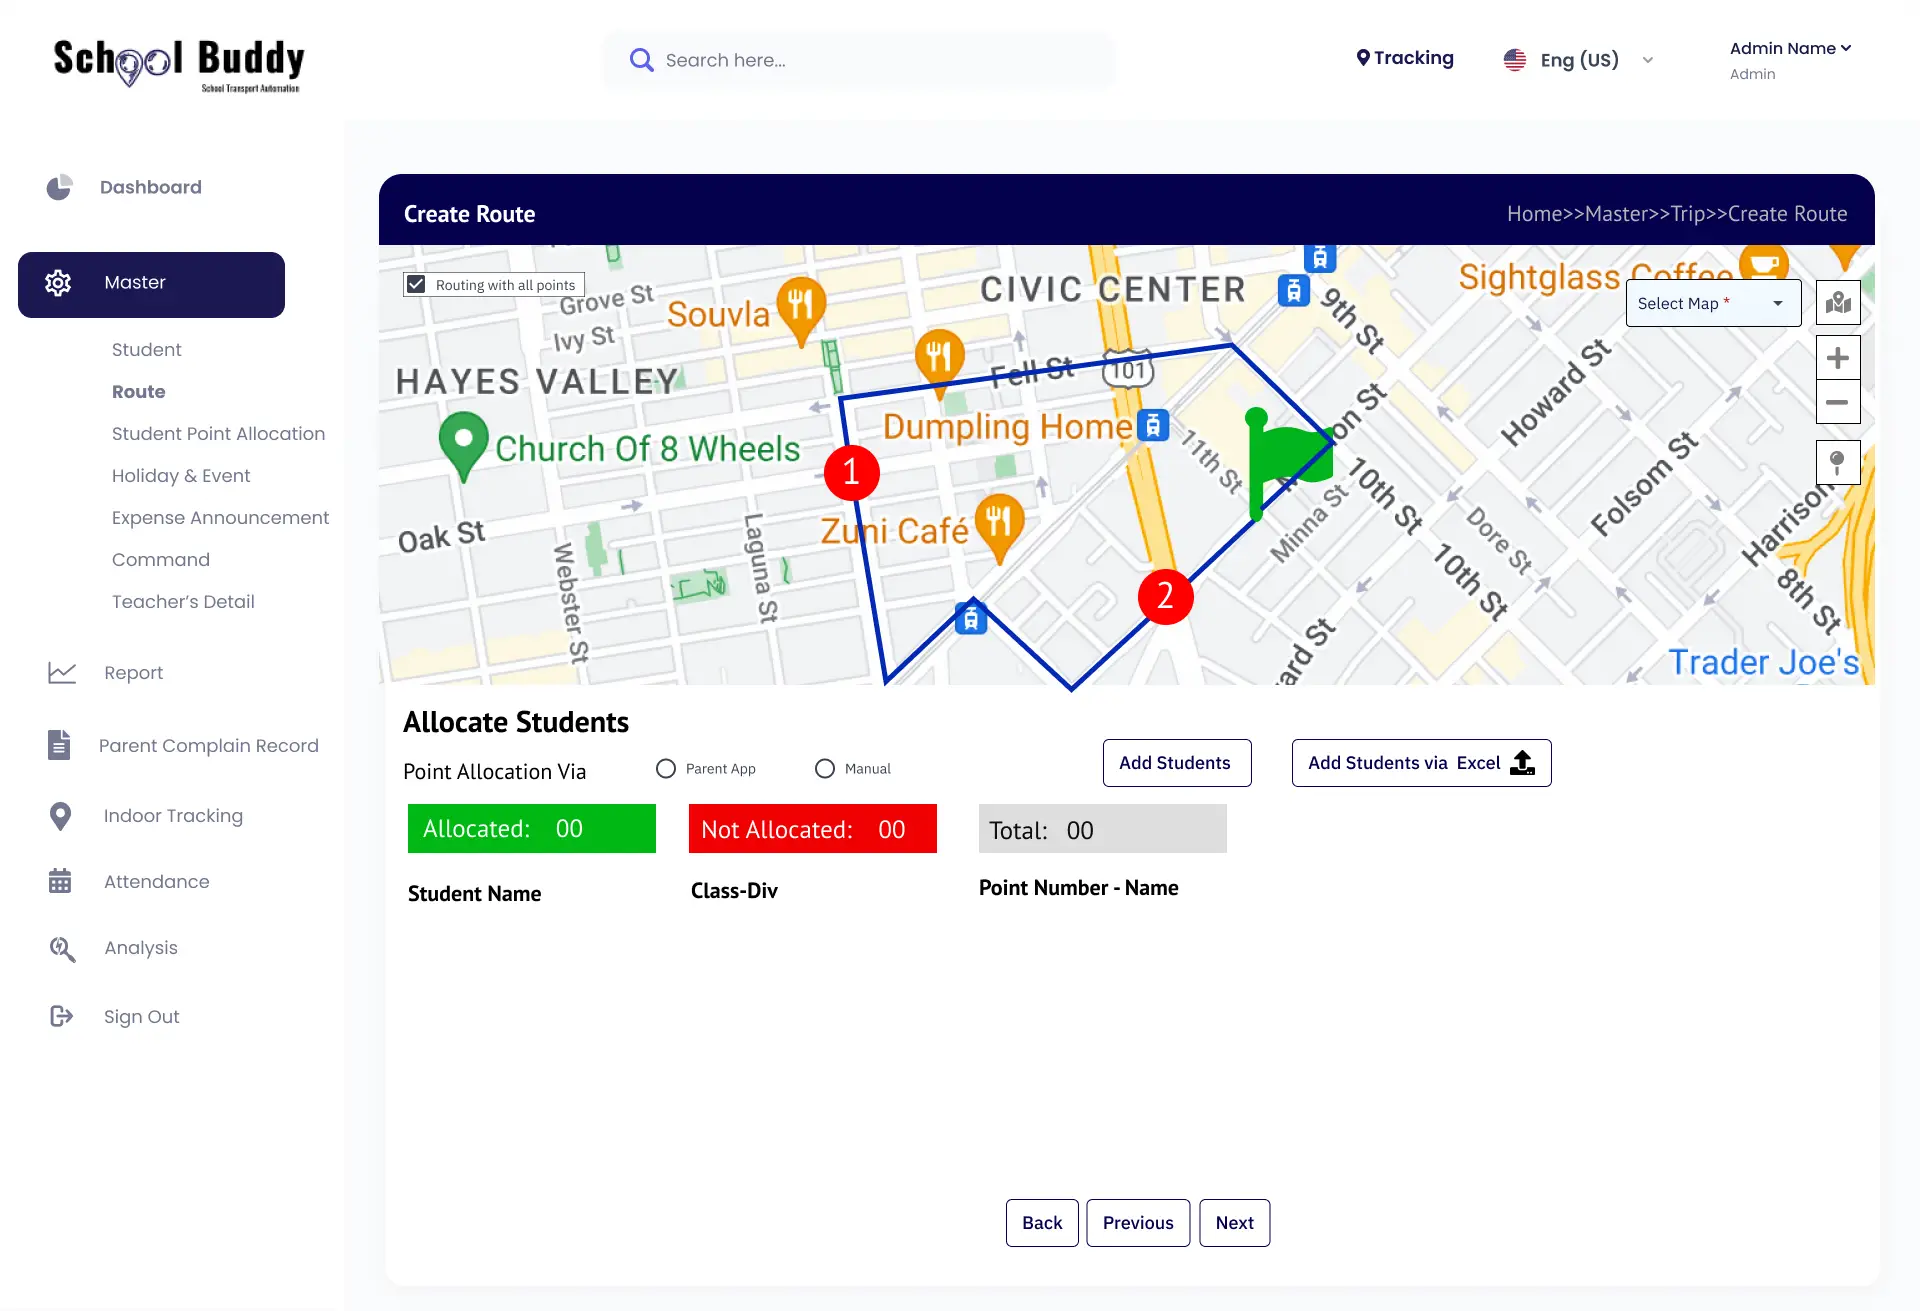
Map the Route enables accurate planning of student travel paths, ensuring safety, efficiency, timely arrivals, and better route management.
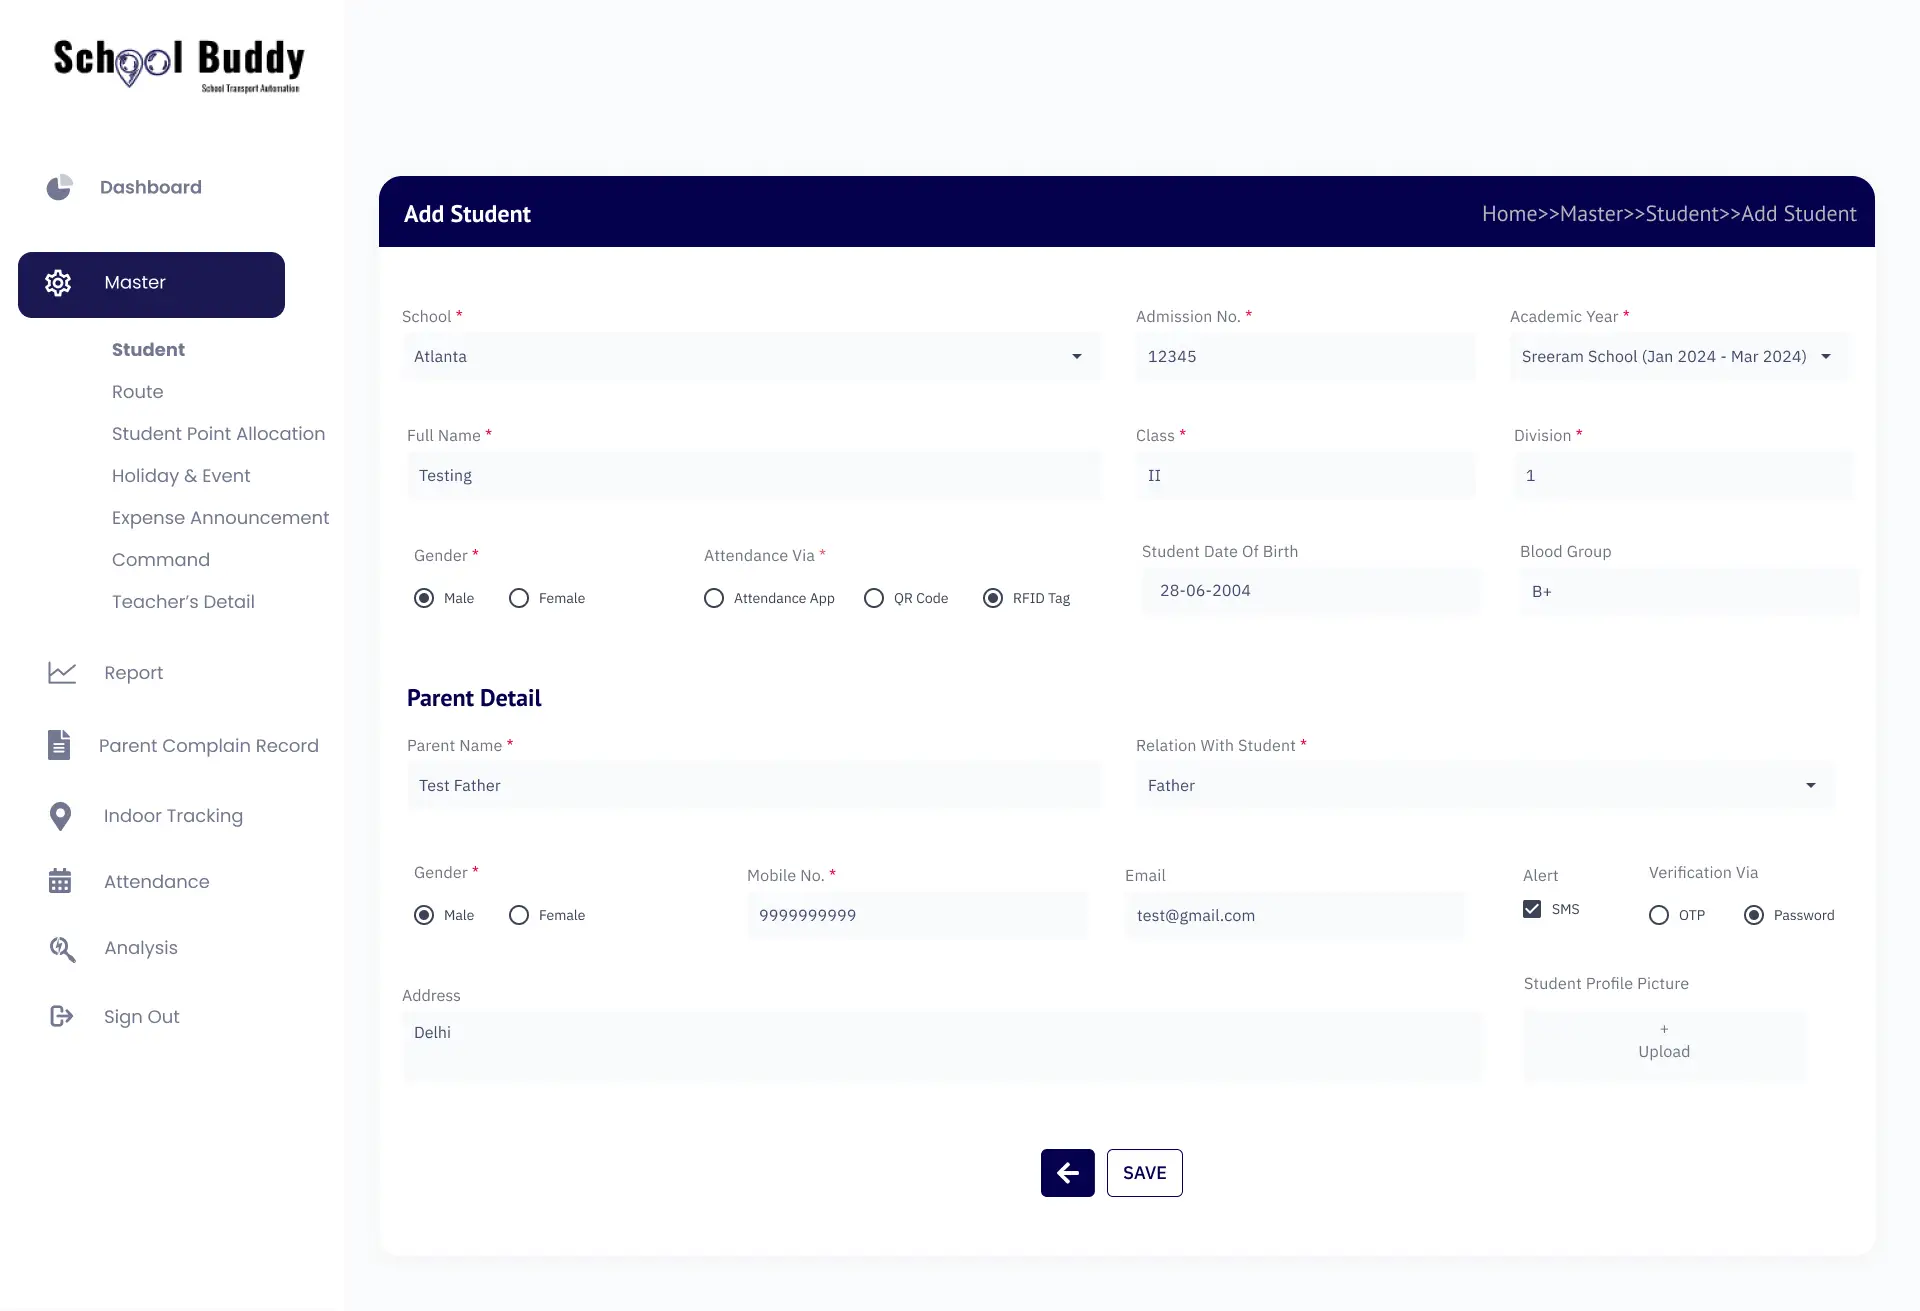
In this section user have to add the student Info and bind them with routes, if the student is in both pick and drop then they must be added separately.
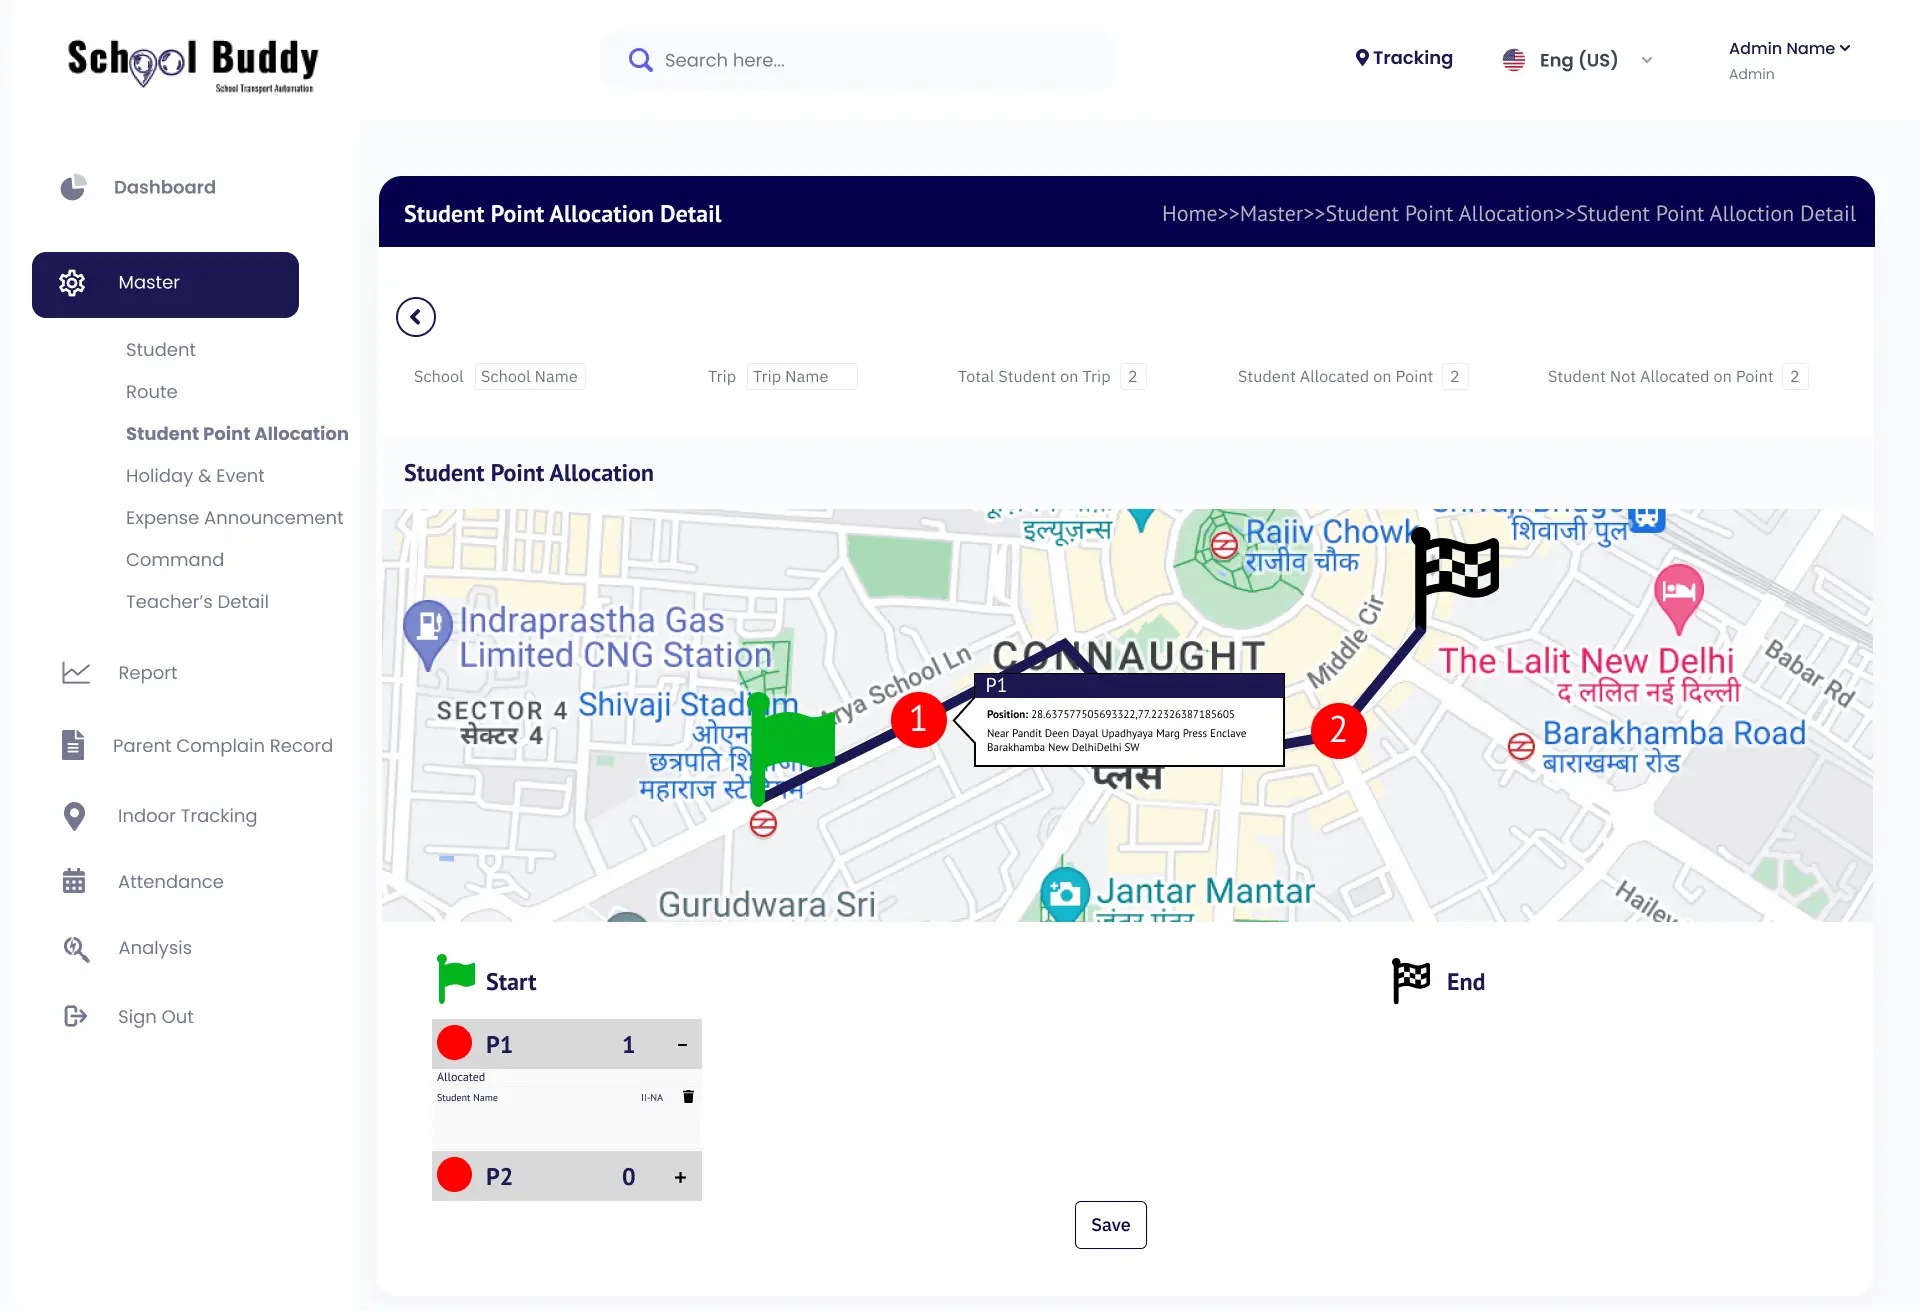
Student point allocation ensures fair evaluation, motivates participation, rewards performance, tracks progress, and promotes academic excellence.
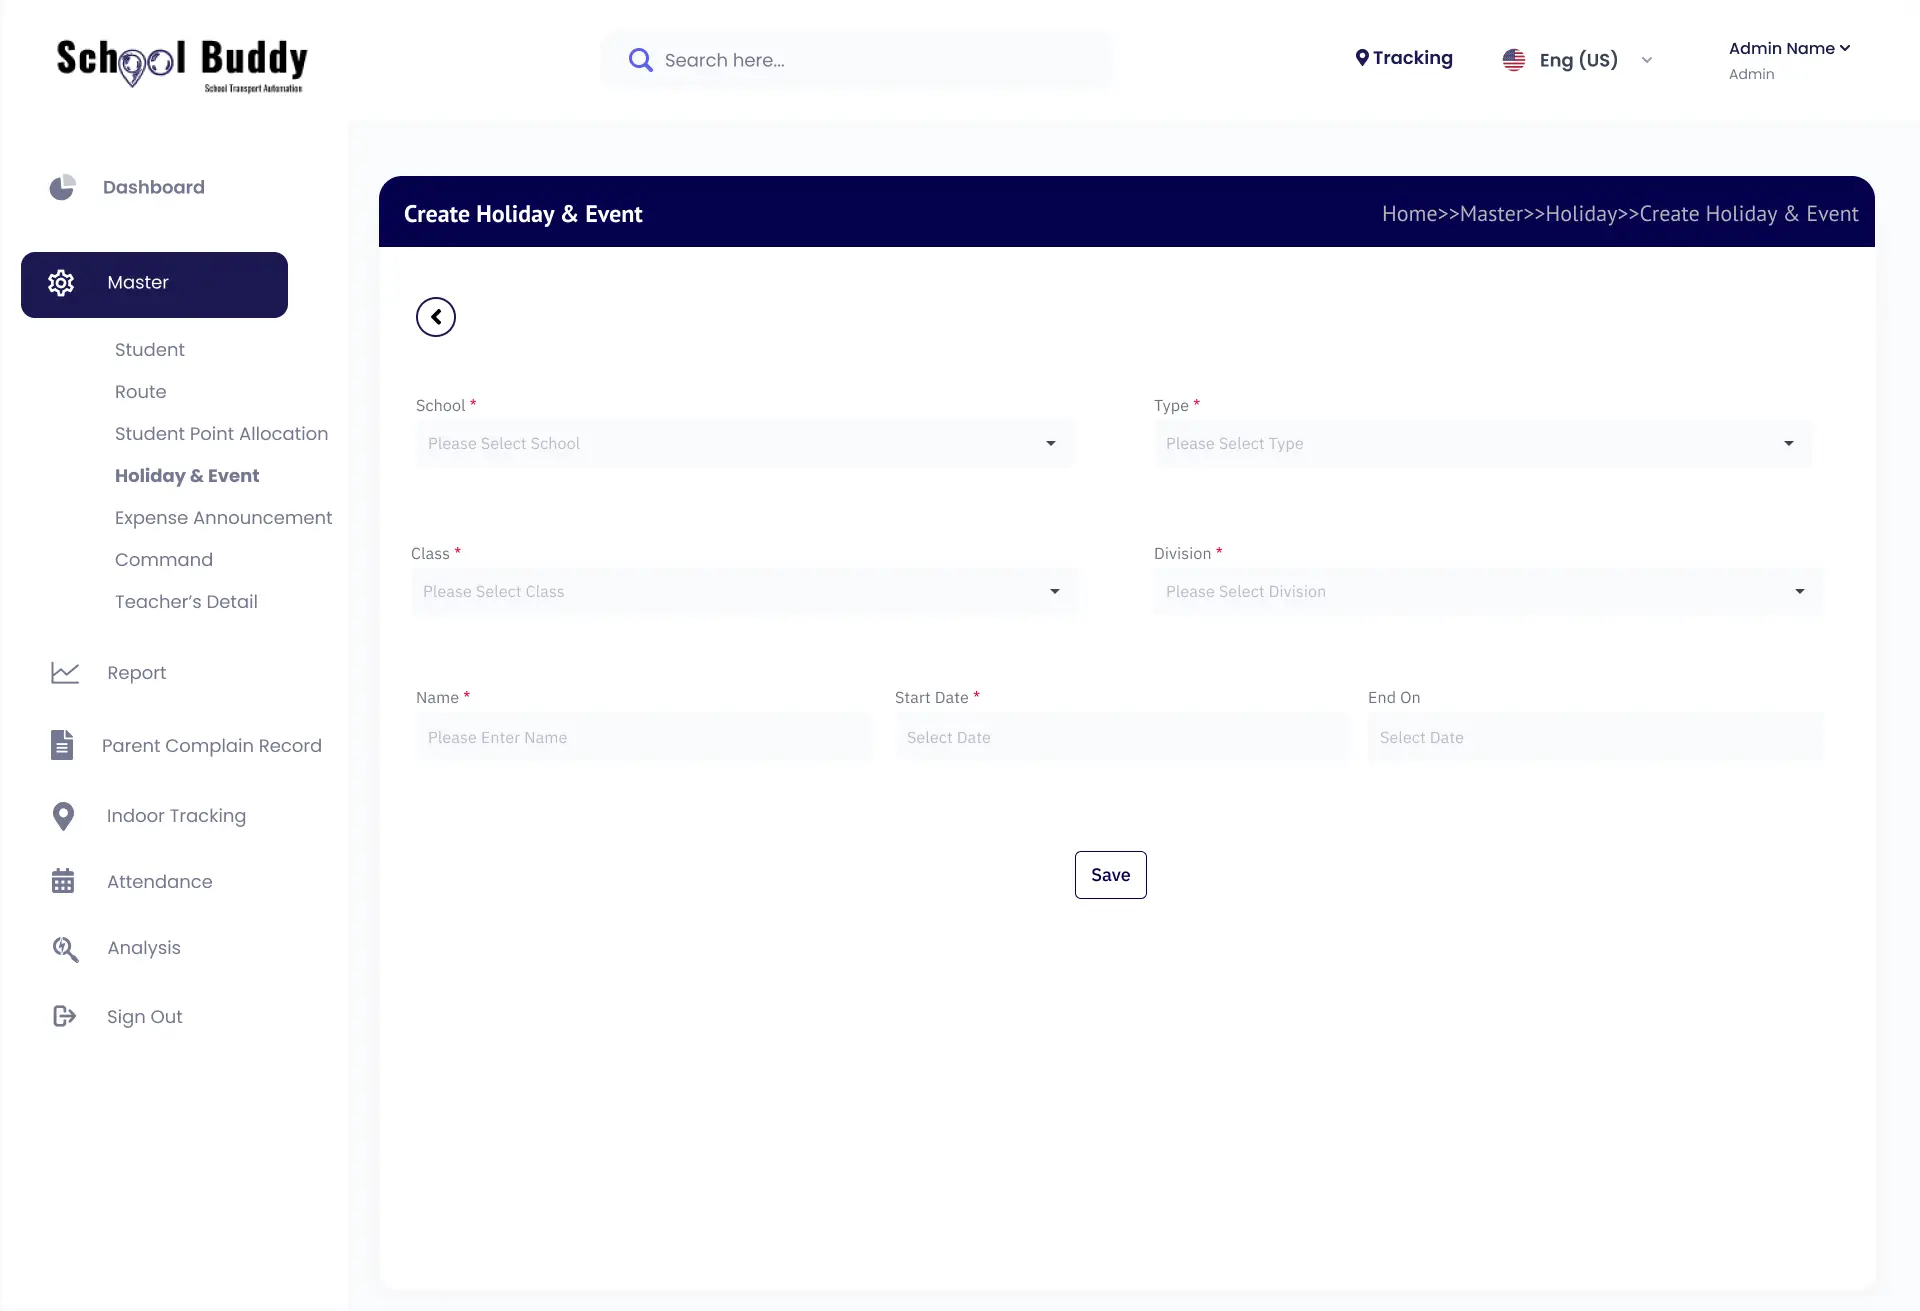
School buses ensure safe, reliable transportation for students, including holiday schedules, promoting punctuality and stress-free travel.
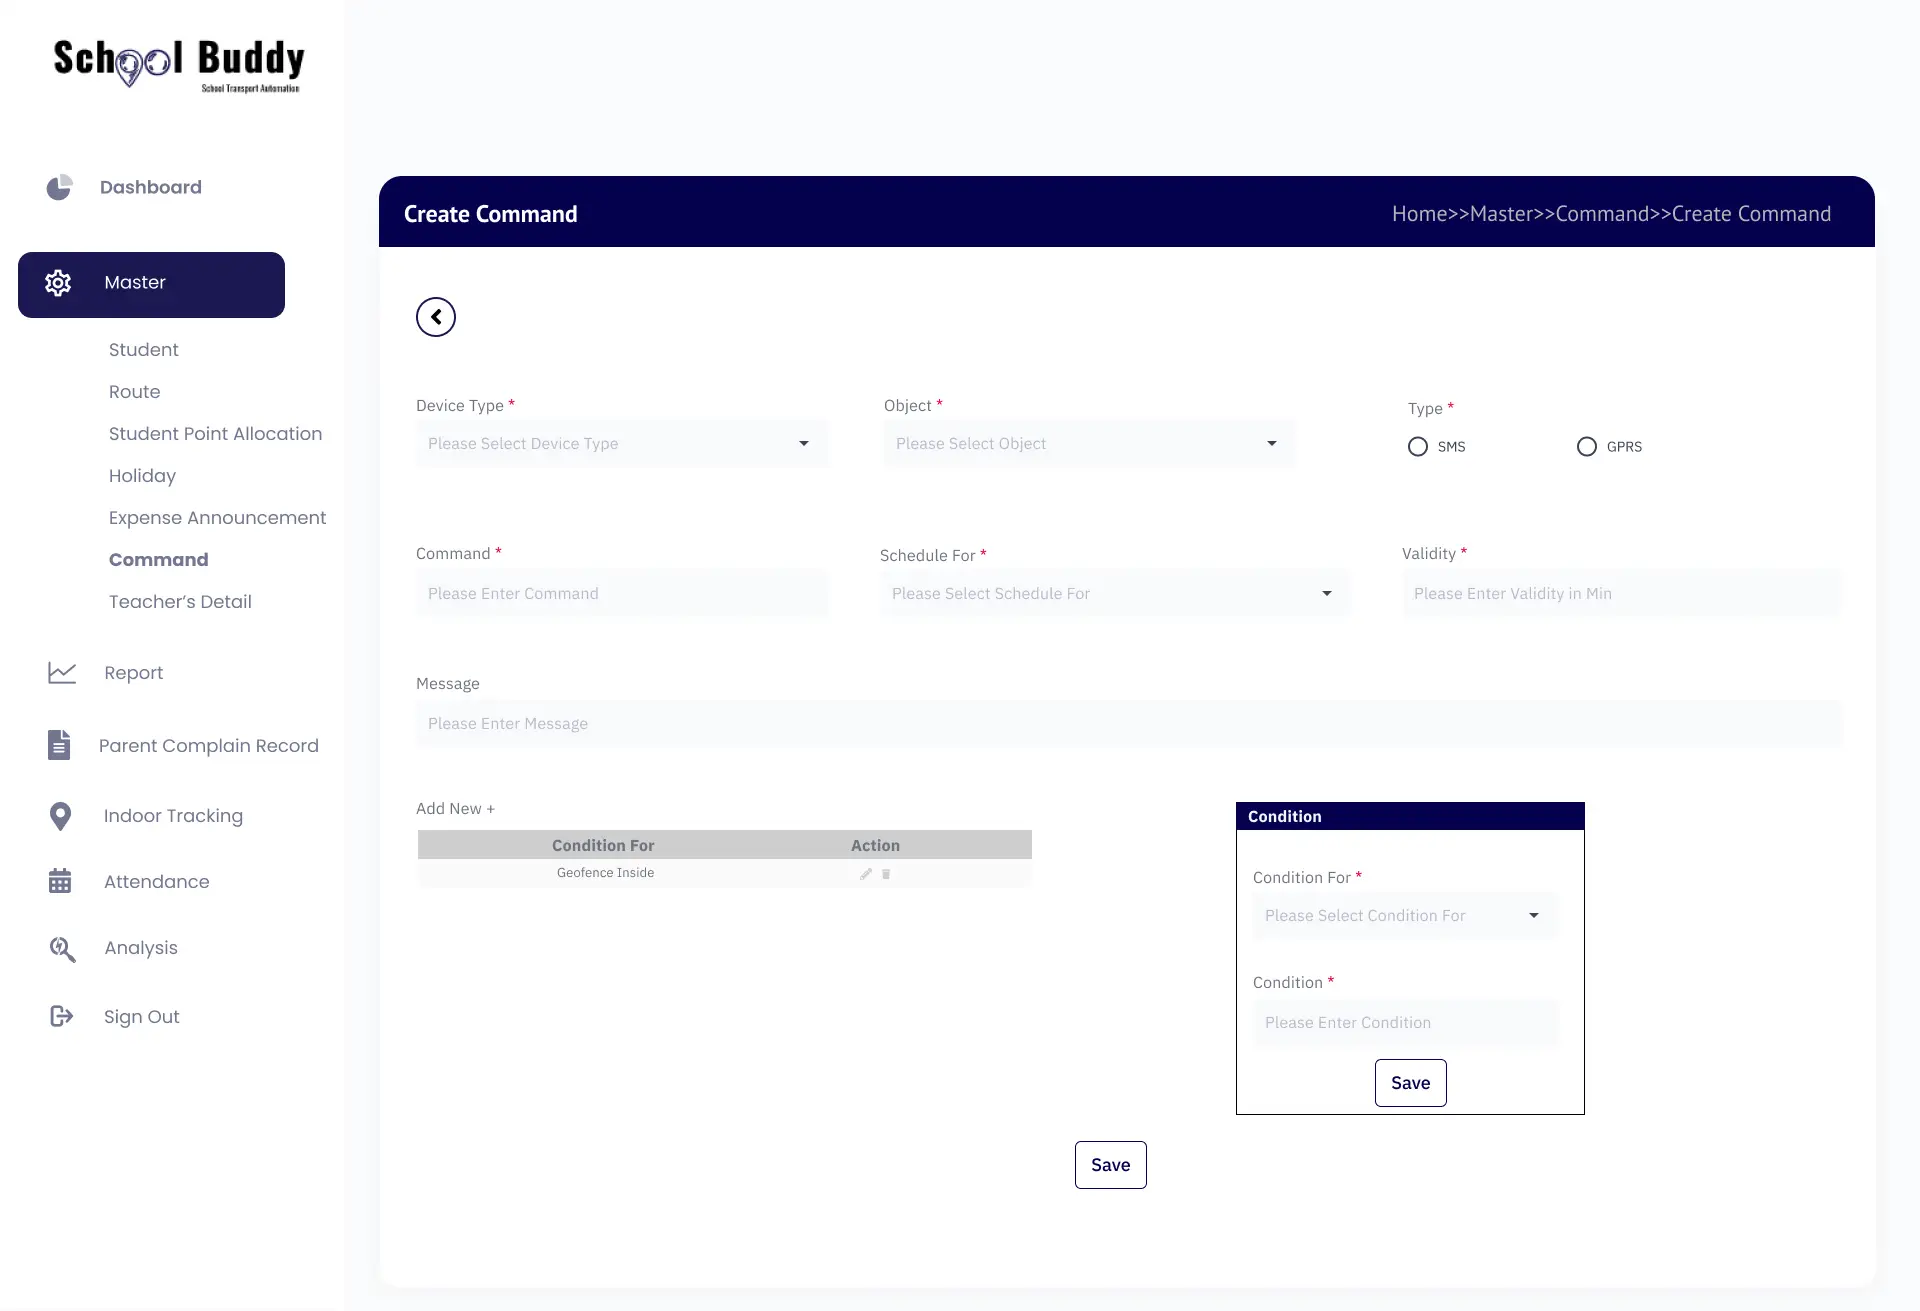
Broadcast messages deliver timely announcements, important updates, and holiday notices, ensuring clear communication with students, parents, and staff.
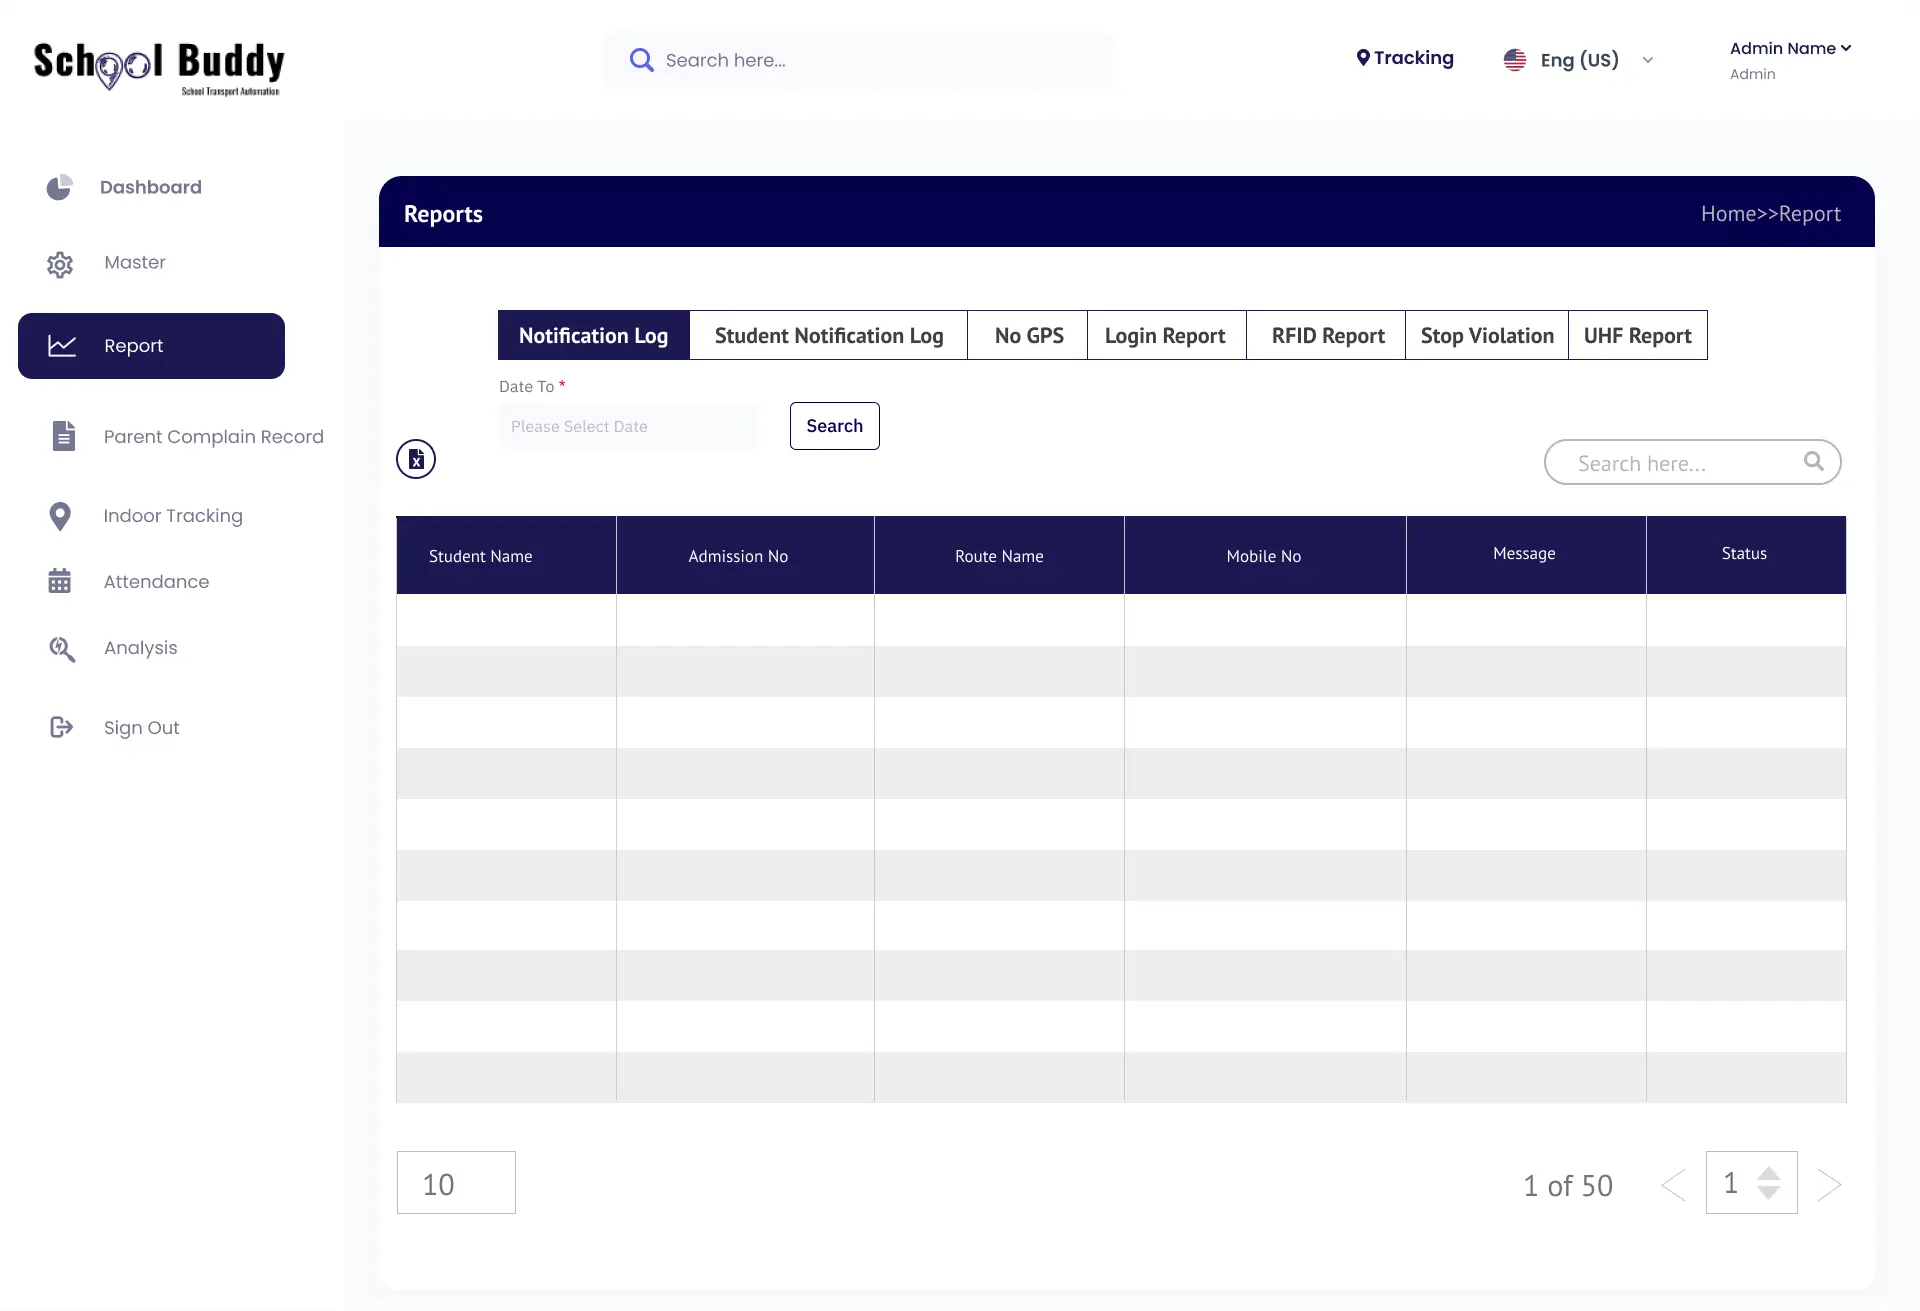
The analysis of the students can be seen in the report section of the software. It has various reports in it like Notification Log, Student Notification Log, No GPS, Login Report, RFID Report, Stop Violation, UHF Report.
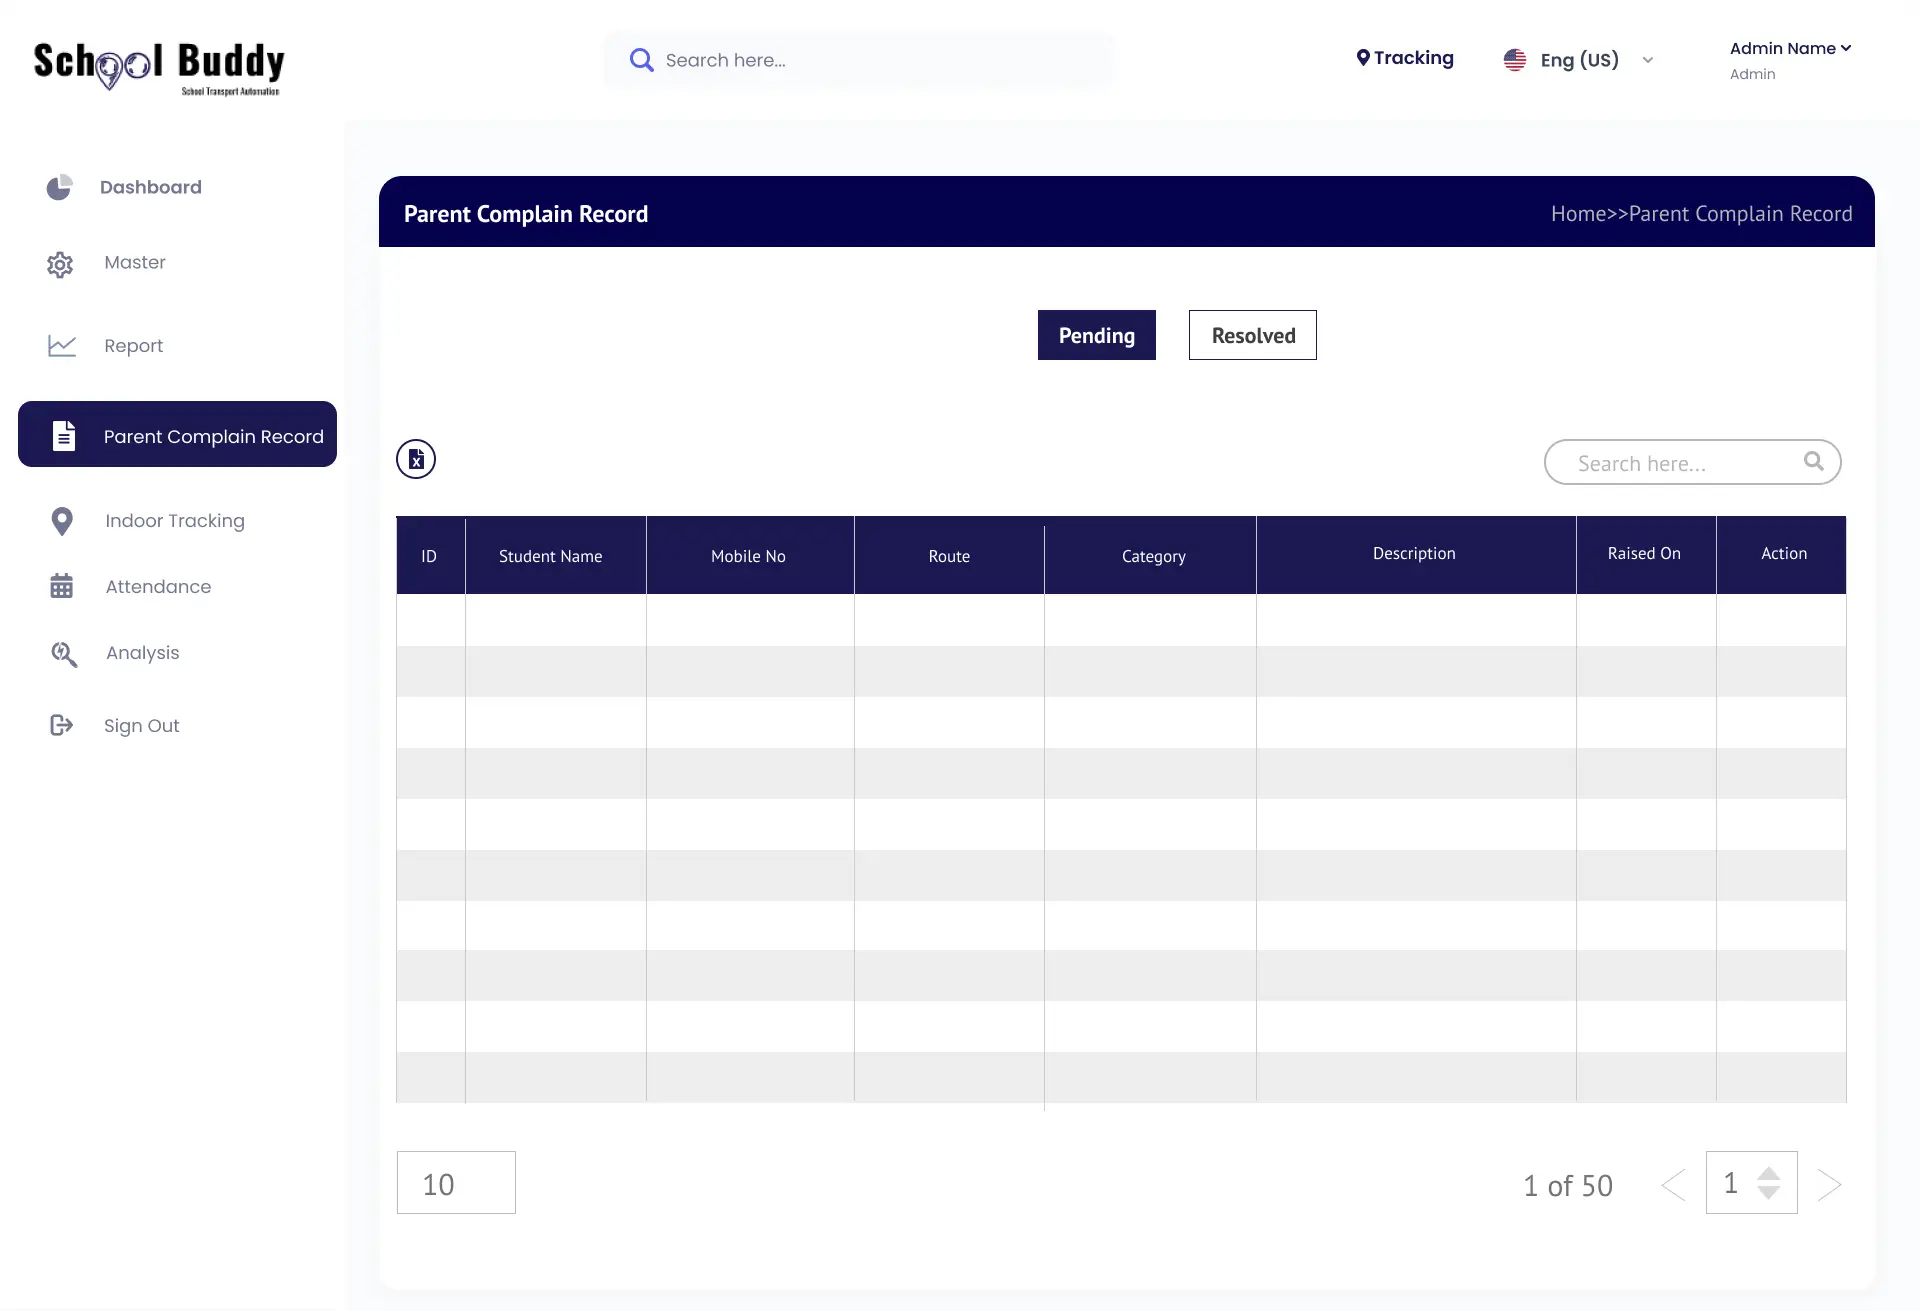
Parent complaints help schools address concerns, improve services, enhance communication, and ensure a better, supportive environment for students.
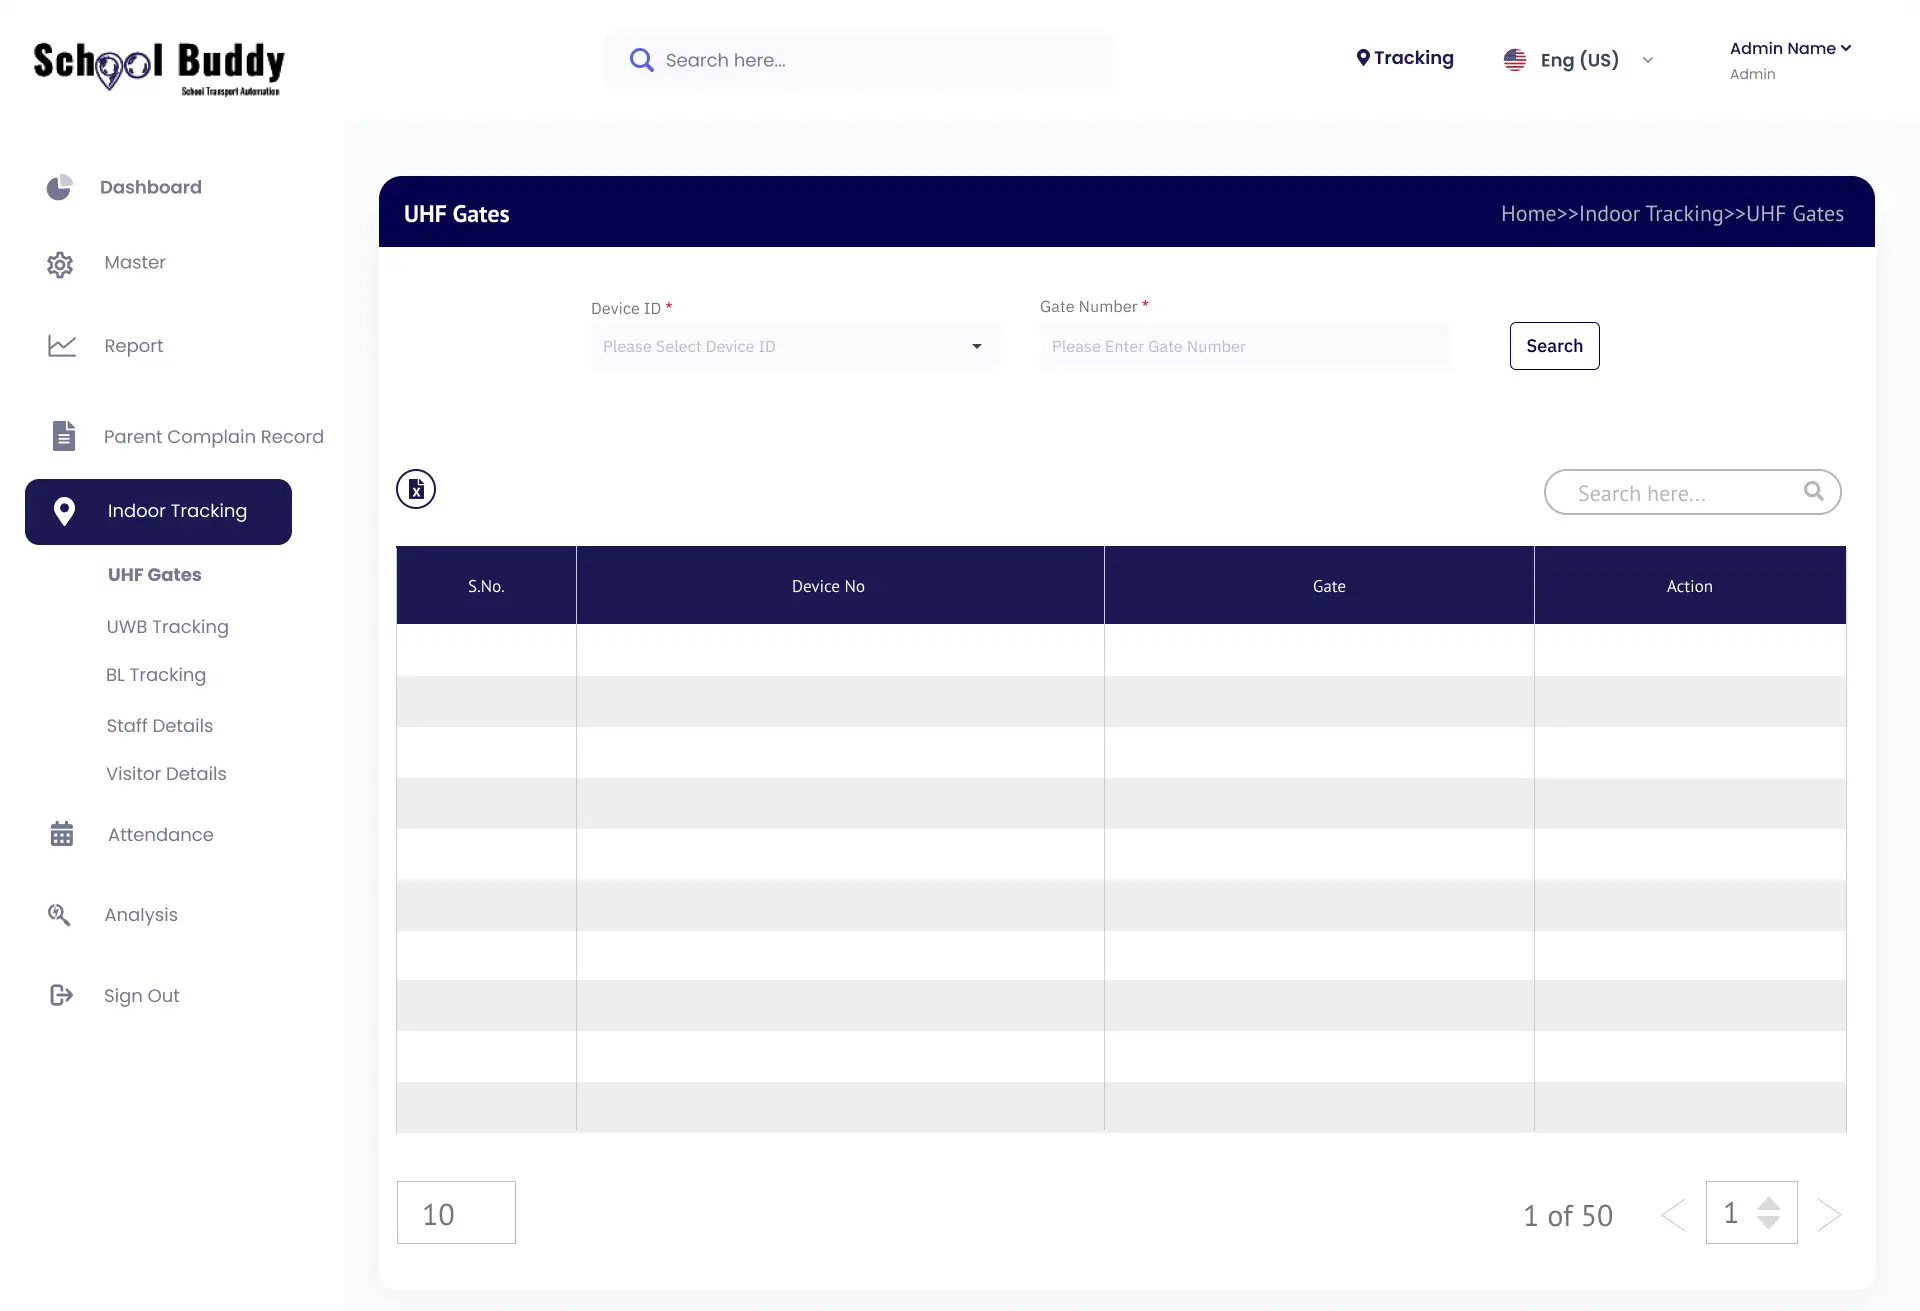
Ensure student security using UHF gates, UWB, and BLE technologies for real-time tracking, controlled access, and enhanced campus safety.
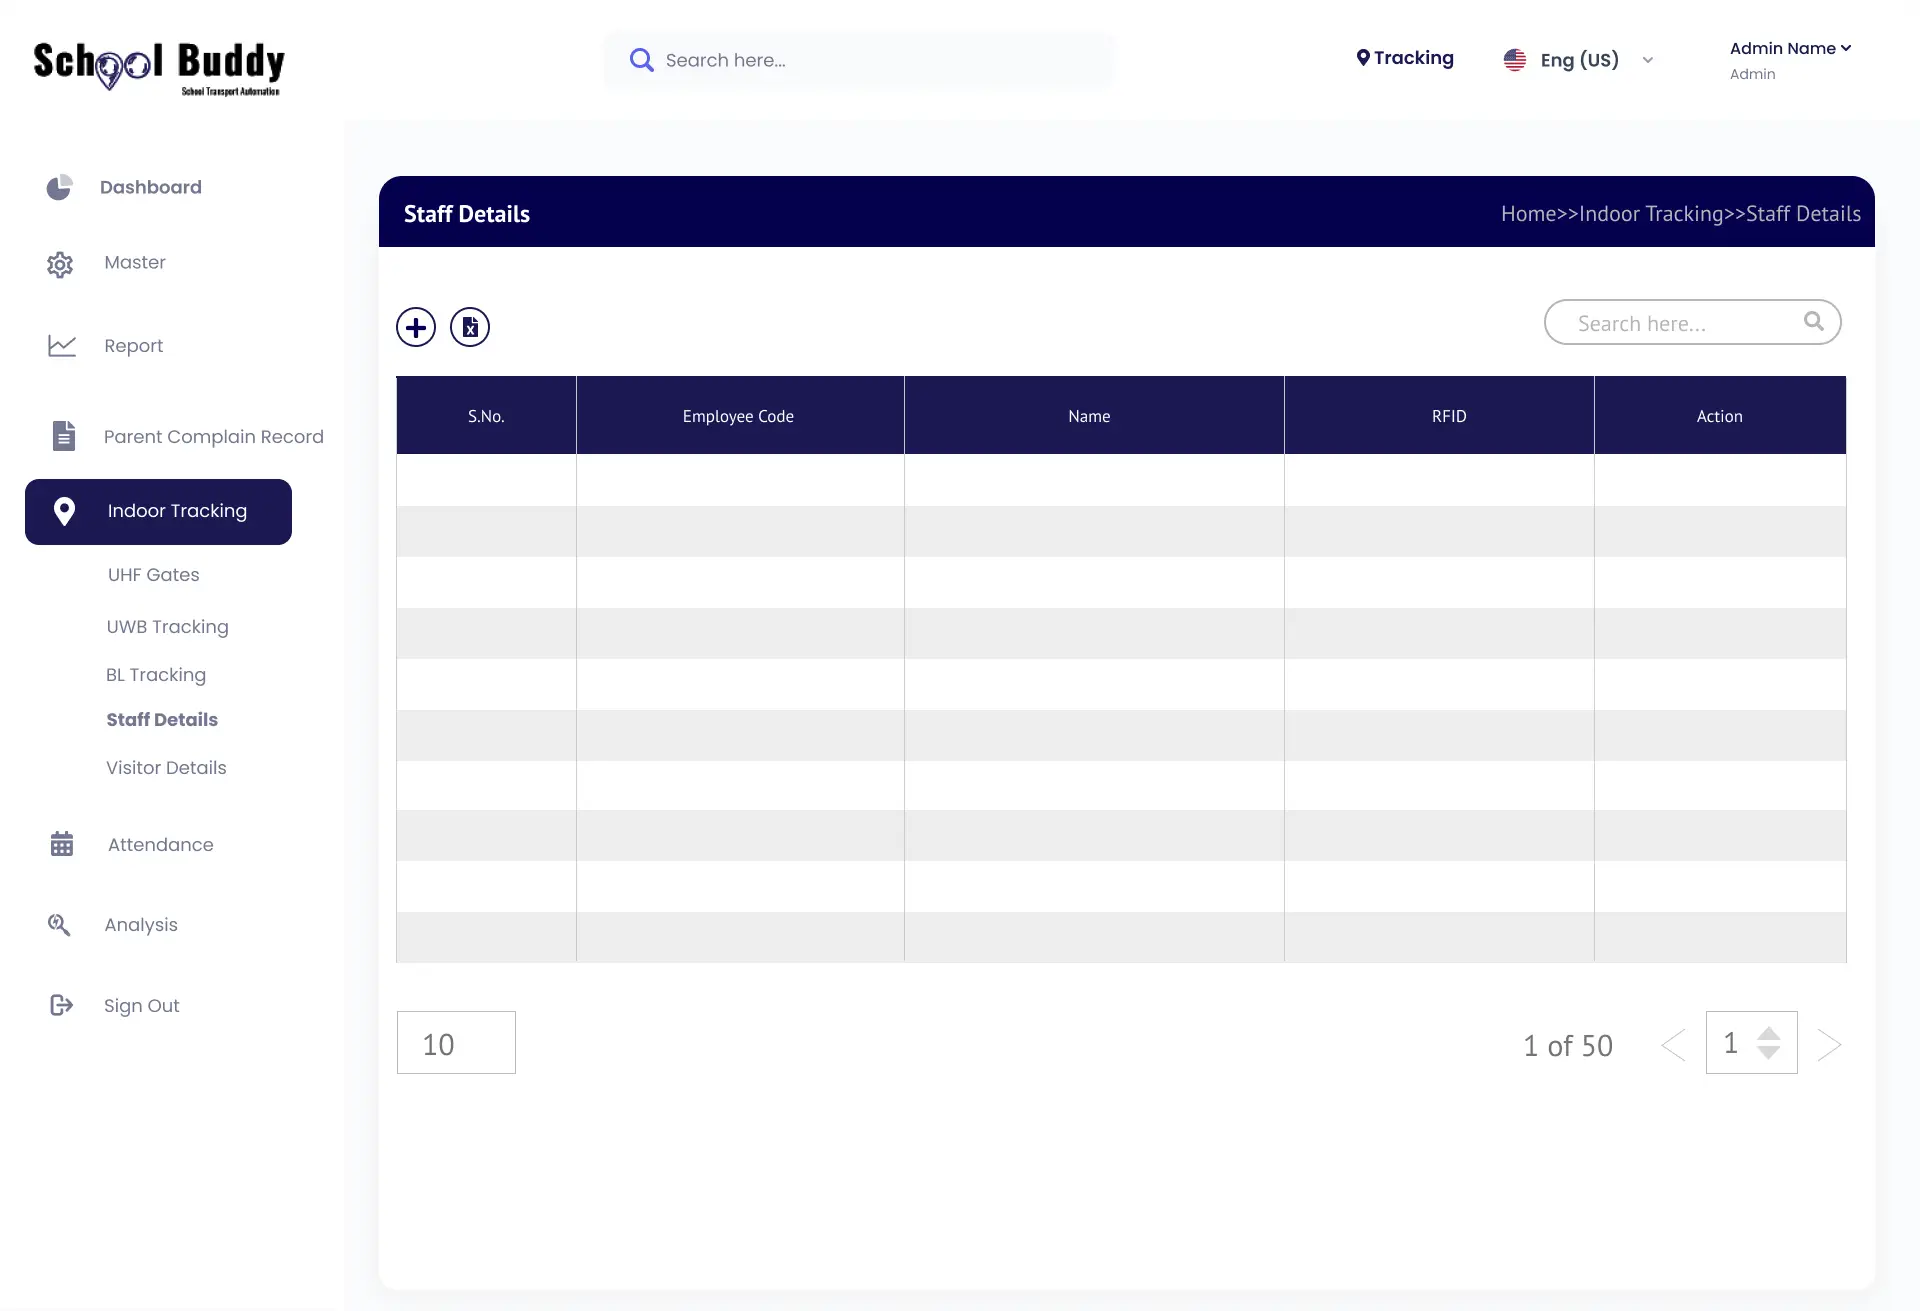
Staff details ensure safety by monitoring campus personnel in real time, improving accountability, response times, and overall campus security.
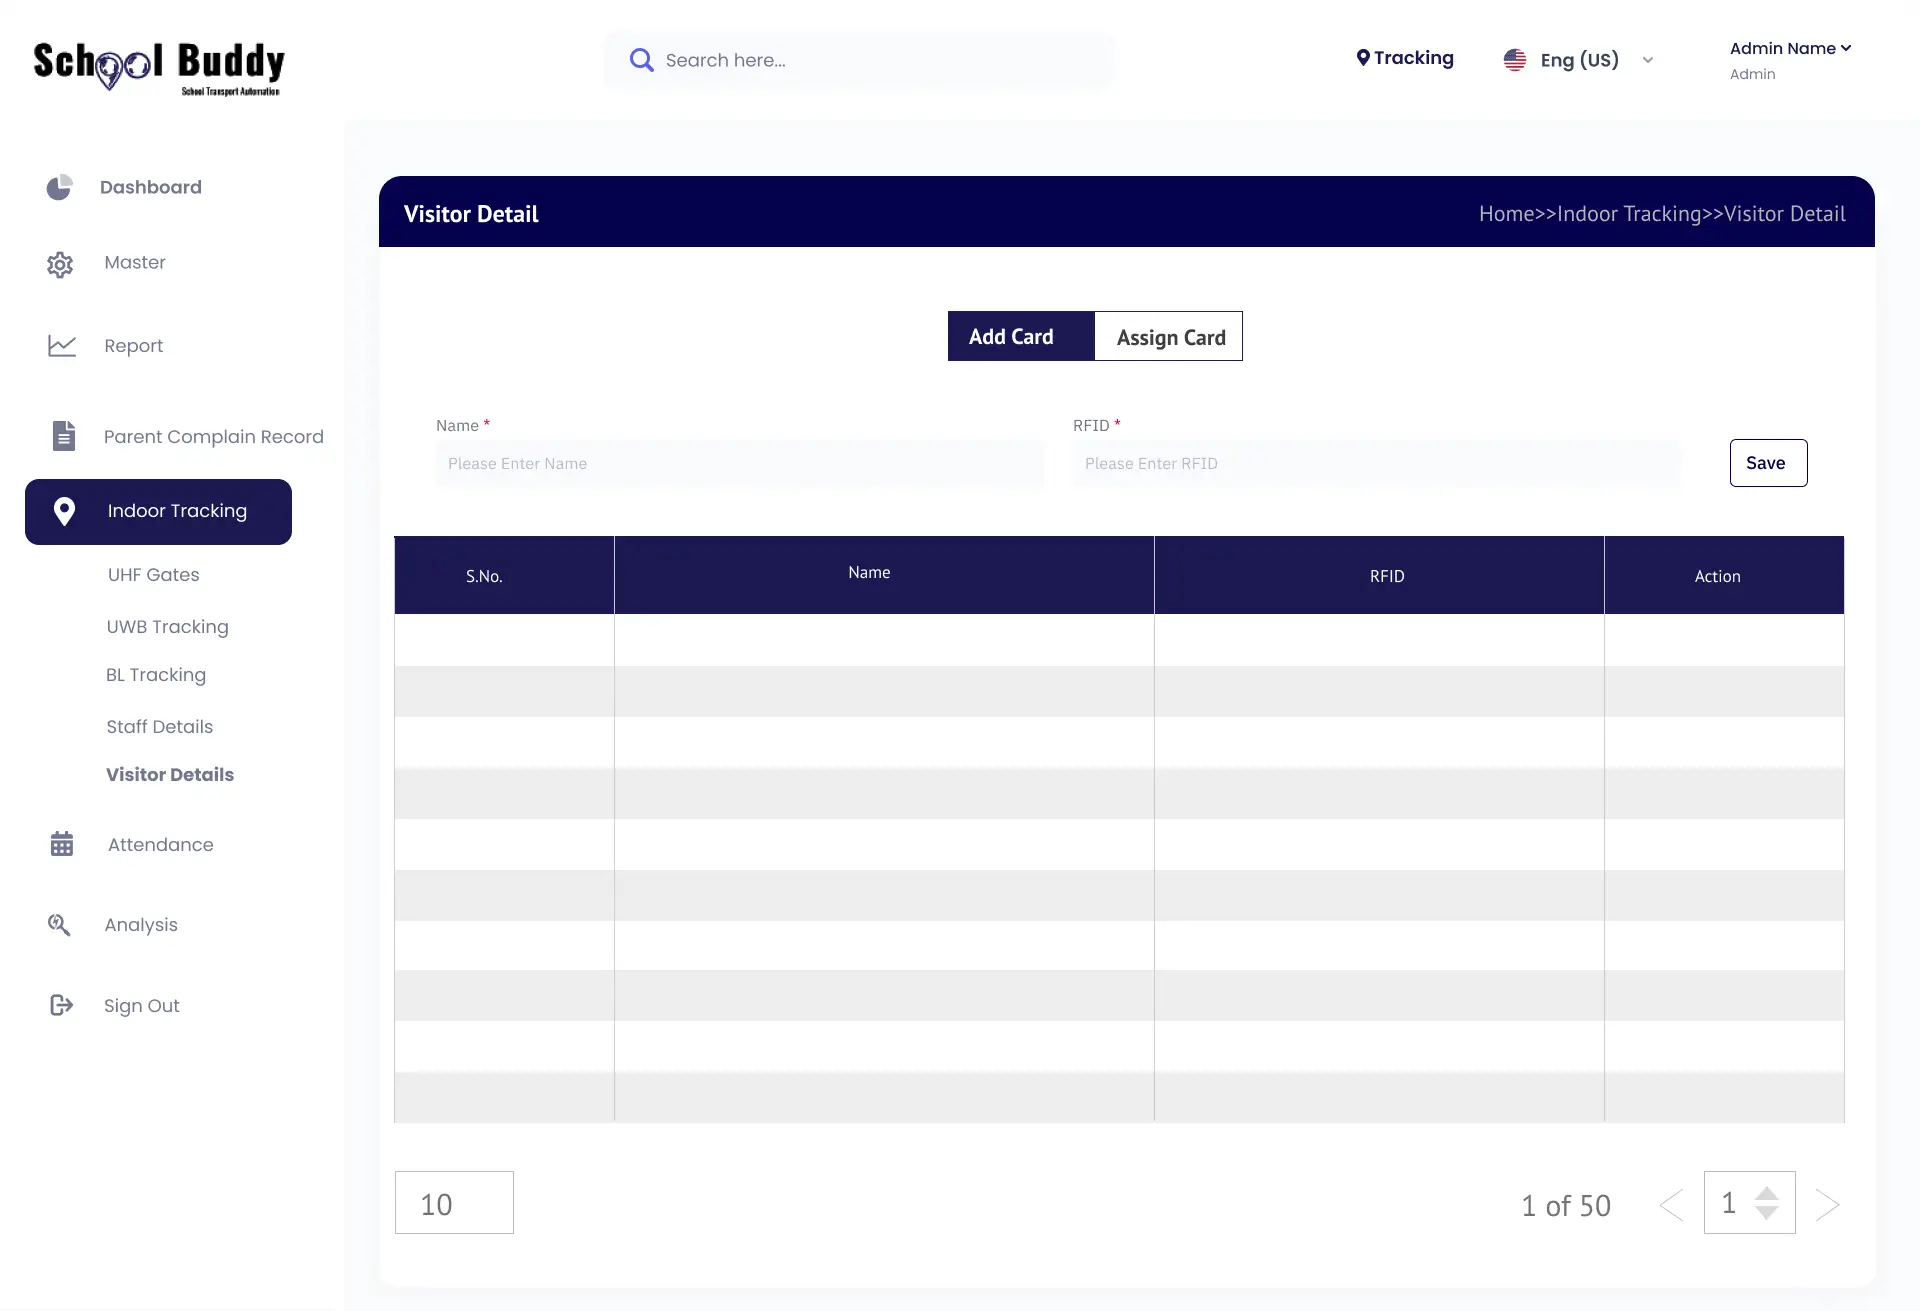
Visitor details help track campus entries, enhance security, ensure compliance, and maintain a safe, well-managed school environment.

Efficient management of student attendance ensures accurate tracking, reduces manual effort, improves transparency, and supports timely academic and administrative decisions.